Eric David - Artist & Photographer
  • Eric David Home
  • Fine Art Photographs
    • Abstract
    • Landscape
    • Garden & Forest
    • Urban
  • Paintings
    • Landscape
    • Abstract
    • Urban
  • Projects
    • Rendezvous
    • In Transit
    • Shadow Portrait
  • Sketchbook
  • Workshops
  • Commissions
  • Archive
  • Contact
  • Events / Exhibits
  • Blog
  • About

Shooting Into the Sun

8/30/2018

0 Comments

 
Picture
Common Misconceptions

Shooting into the sun can add a lot of drama to your photos, but there are some common misconceptions:
  1. Shooting into the sun can hurt your eyes. Yes, if you look through the viewfinder, however if you use the camera's live view mode and look through the screen in the back, then you'll be fine.
  2. Sh0oting into the sun can hurt the sensor in the camera. It may over a long period of time or over a long exposure, but shouldn't hurt your sensor through normal shooting.
  3. Shooting into the sun creates lens flare. Yes, you may get lens flare but you can control this and it can be used to advantage.
  4. Shooting into the sun creates great contrast in the image (high dynamic range) which results in parts of the image being over exposed or under exposed or both. Yes, but you can plan for this by using flash, or underexposing and in post processing recover the shadows.

Tips for Getting Better Shots

  1. Use the LCD screen on the back of the camera to compose your shot.
  2. If you like to capture sun stars, use a small aperture such as F16 combined with a good quality, wide angle prime or zoom lens that's been coated to reduce flare and reflections.
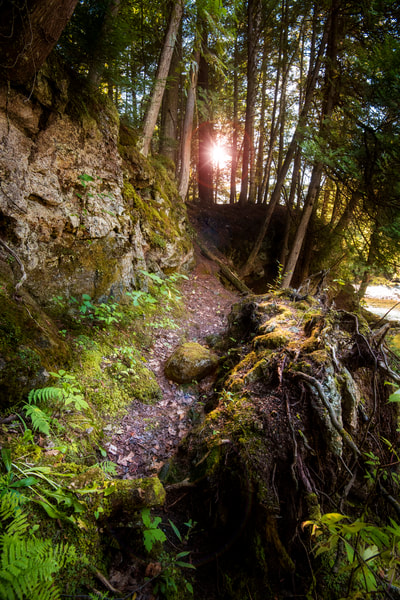
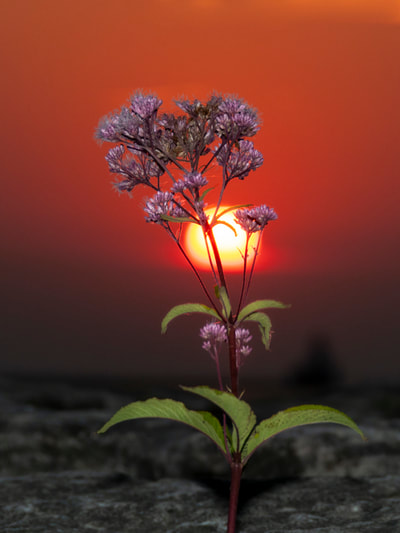
  3. Partially hide the sun behind some trees or an object to reduce its intensity allowing for more exposure flexibility.
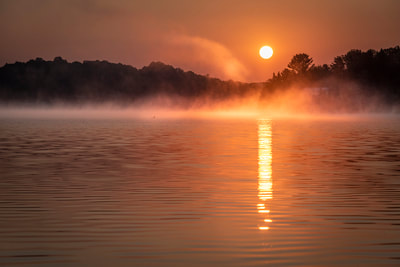
  4. If shooting in the morning or evening take shots just before sunrise or after sunset. You'll still get a wonderful sky without having to deal with the sun's intensity.
  5. If taking portraits with the sun behind the subject, use a flash. Underexpose the camera by 1 to 1.5 stops but overexpose your flash by 1 to 1.5 stops. This helps to ensure that the sunset is exposed properly and that your subject is  also exposed correctly.
  6. Don't overexpose. It's better to underexpose and then recover the detail in the dark areas of the image through post processing.

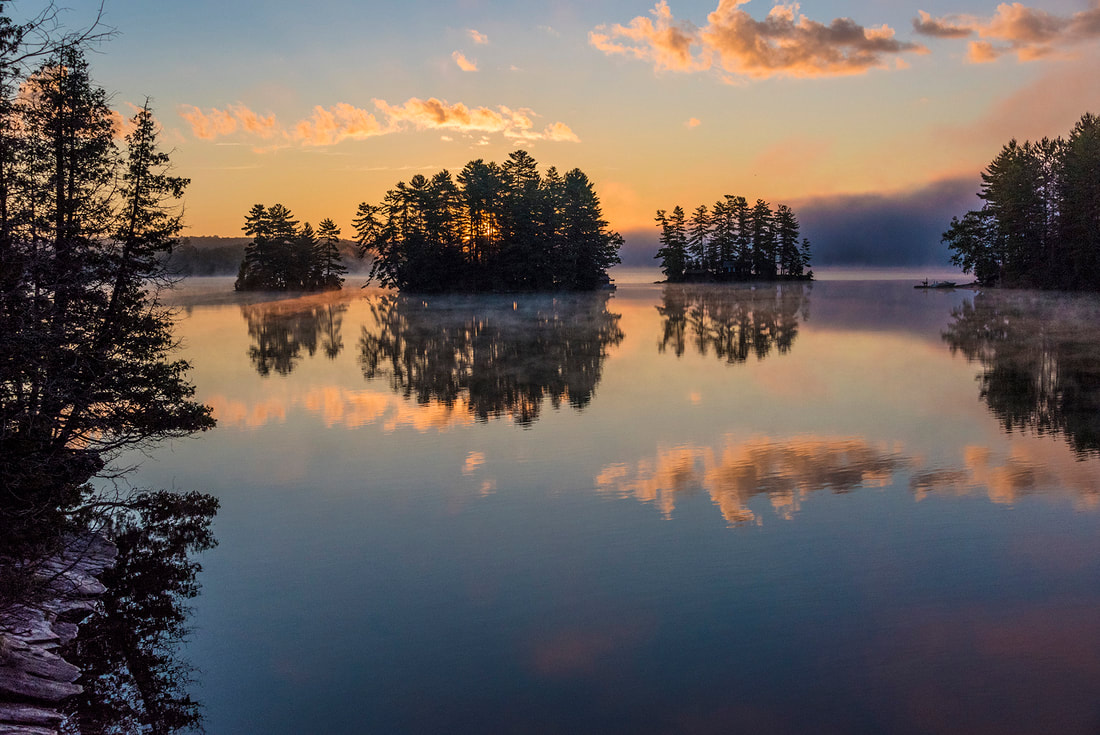
Sample Gallery
Thought for the Day

“There are always two people in every picture:  the photographer and the viewer.” – Ansel Adams
0 Comments

    Eric David

    Eric David is a visual artist / fine art photographer that lives and works in Toronto.

    Archives

    January 2019
    August 2018
    May 2018
    March 2018
    January 2018
    December 2017
    November 2017
    September 2017
    May 2017
    March 2017
    February 2017
    January 2017
    December 2016
    November 2016
    October 2016
    September 2016
    August 2016
    July 2016
    June 2016
    May 2016
    April 2016
    March 2016
    February 2016
    December 2015

    Categories

    All
    Animation
    Community
    Composition
    Cubism
    Dog
    Drawing
    Flowers
    High Key
    Image Composite
    Landscape
    Leading Lines
    Macro
    Multiple Exposure
    Mushrooms
    Musicians
    Opie
    Painting
    Performers
    Pets
    Photography
    Portrait
    Reference
    Reflection
    Shadow
    Snow
    Sport
    Technique
    Texture
    Tools
    Travel
    Urban

    RSS Feed

Powered by Create your own unique website with customizable templates.
  • Eric David Home
  • Fine Art Photographs
    • Abstract
    • Landscape
    • Garden & Forest
    • Urban
  • Paintings
    • Landscape
    • Abstract
    • Urban
  • Projects
    • Rendezvous
    • In Transit
    • Shadow Portrait
  • Sketchbook
  • Workshops
  • Commissions
  • Archive
  • Contact
  • Events / Exhibits
  • Blog
  • About