|
When you're traveling or site seeing, one of the most frequent challenges is how to take a photo without it being filled with people obstructing part of the building, bridge, road, waterfall or other object of interest. So what are your options? Here are five proven solutions to removing those unwanted people in your image.
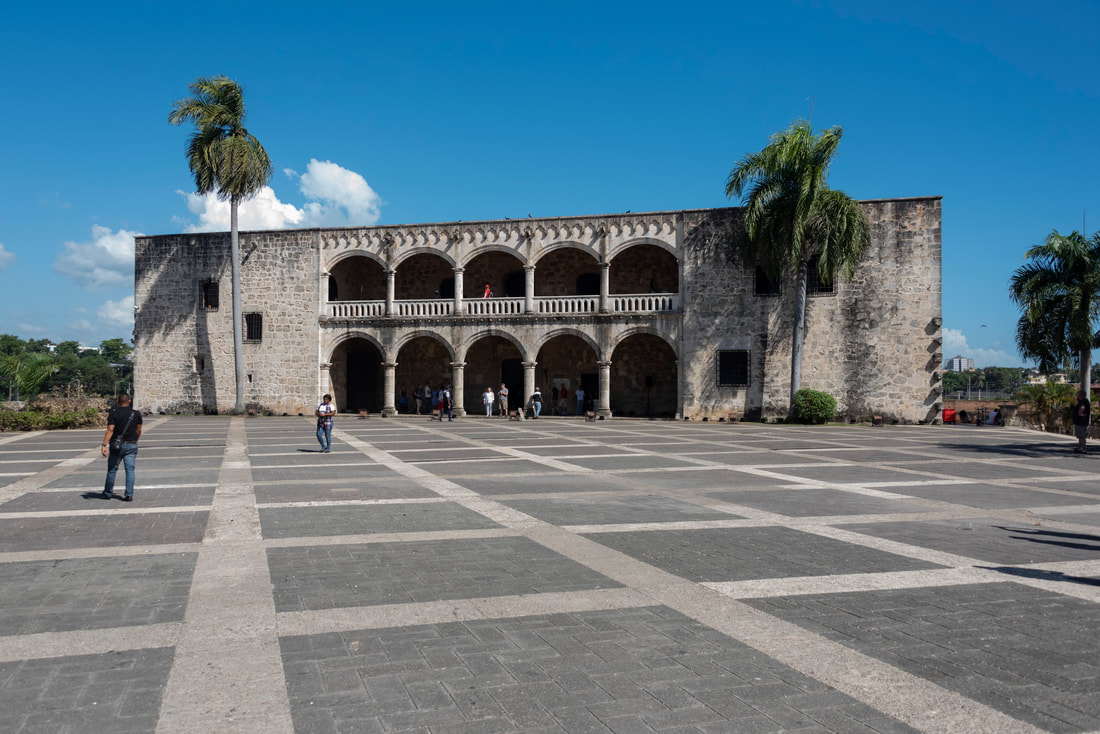
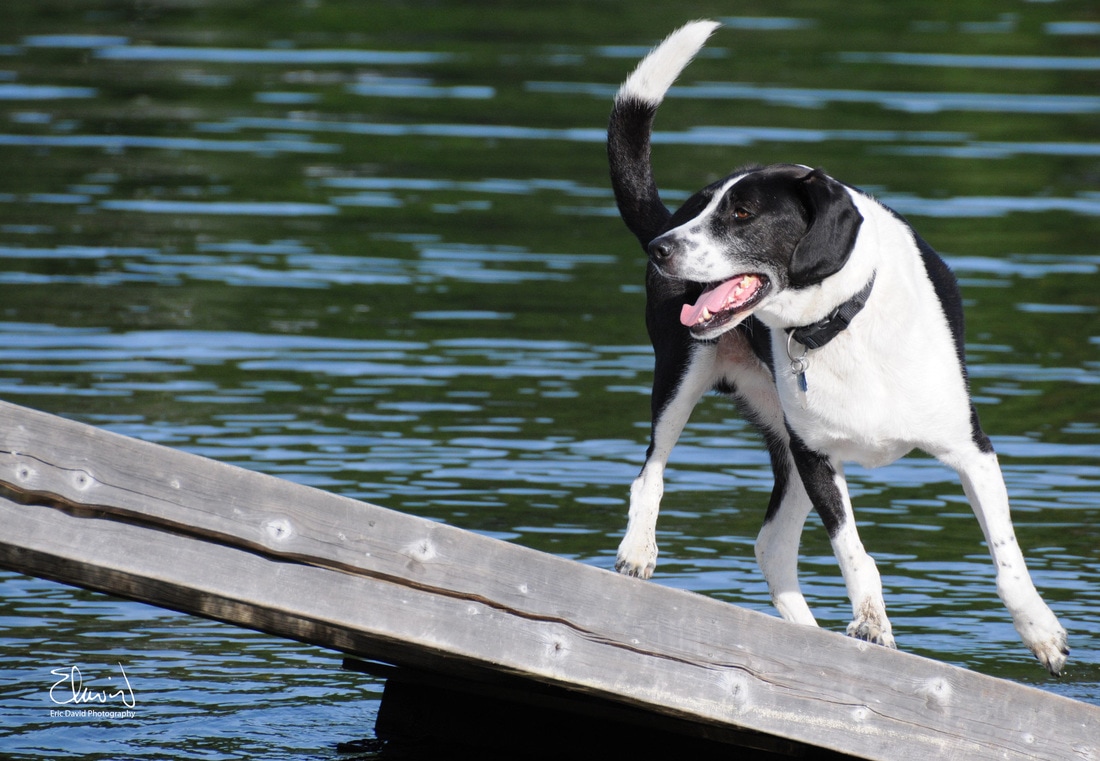
In the following example I'll walk through option 5, using multiple photos and then blending the people away in the image. In the following two images you can see a couple of people in the foreground as well as an individual in front of a column by the building that I want to remove.
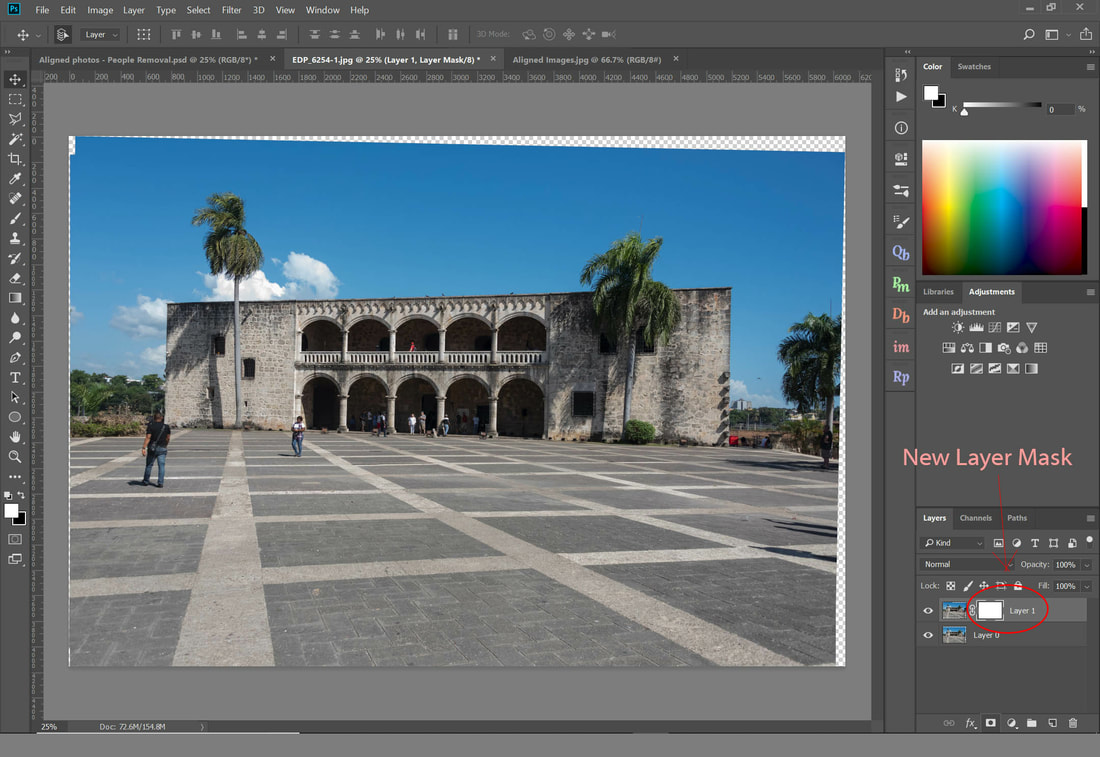
The first step is to open both images on different layers in Photoshop. 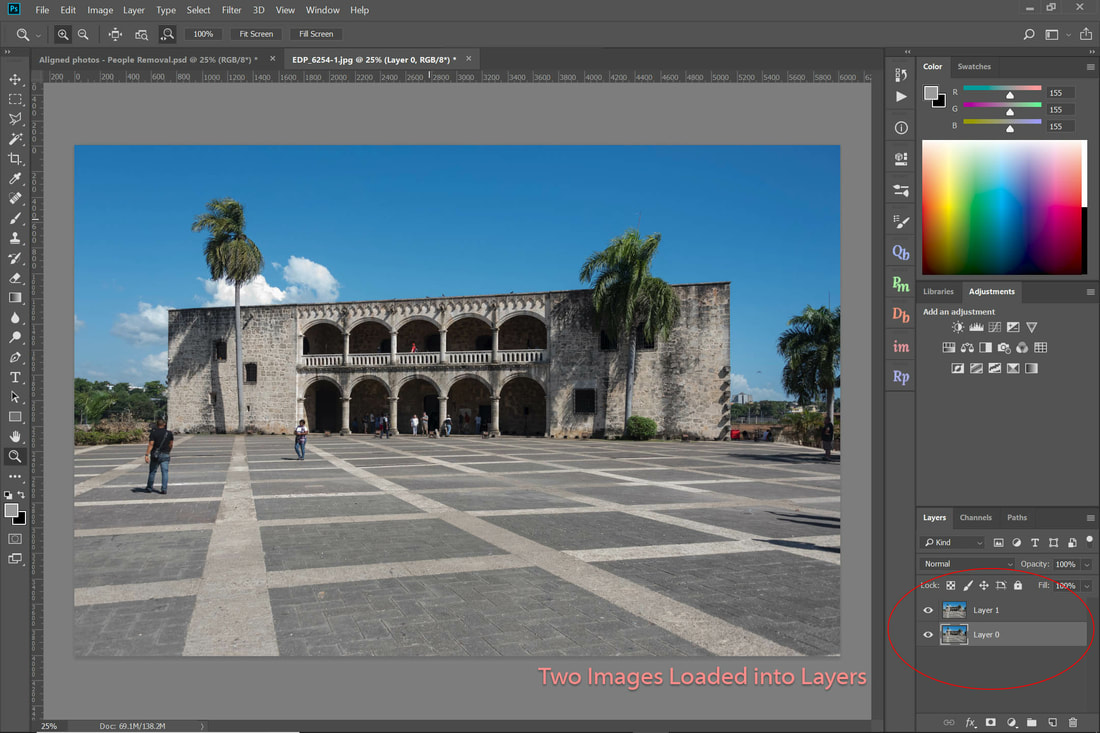 The next step is to align the layers. Select both layers and then use the Edit > AutoAlign Layers command to auto-align these layers. In the pop-up window select the Auto-Align projection option. 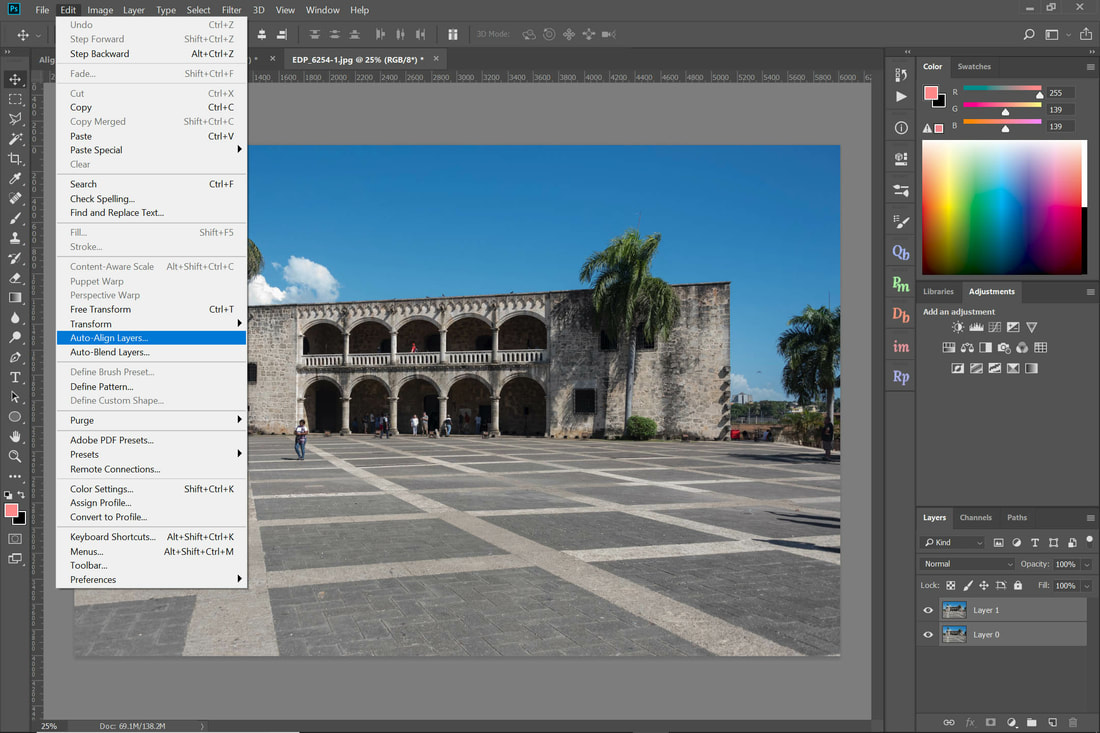 Your images will now be aligned. They may be a bit skewed or stretched as in the image below.  Next, add a layer masks to the top most layer.
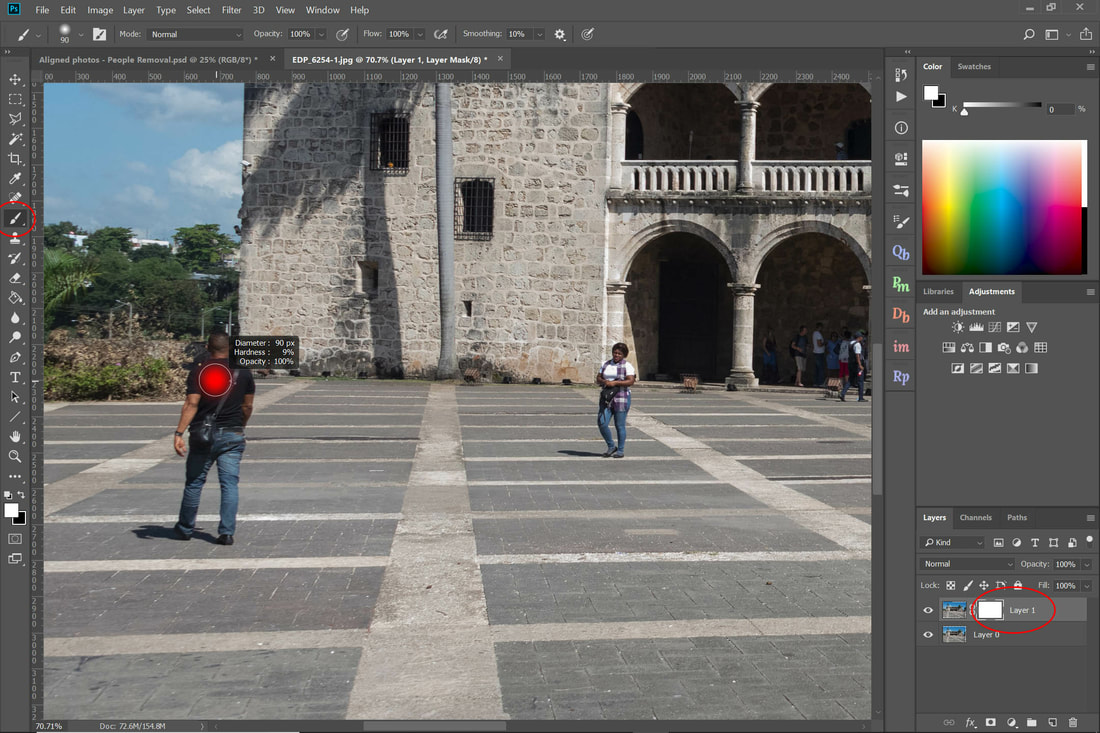
Once you have added your layer mask, you can now remove the figures you don't want by painting out the image using the Brush Tool. In a layer mask everything that is visible will have a white mask, everything you don't want to see will have a black mask. First Select the layer mask, ensure that your brush colour is black and then select the Brush Tool. Zoom into the person you want to remove and then start painting.
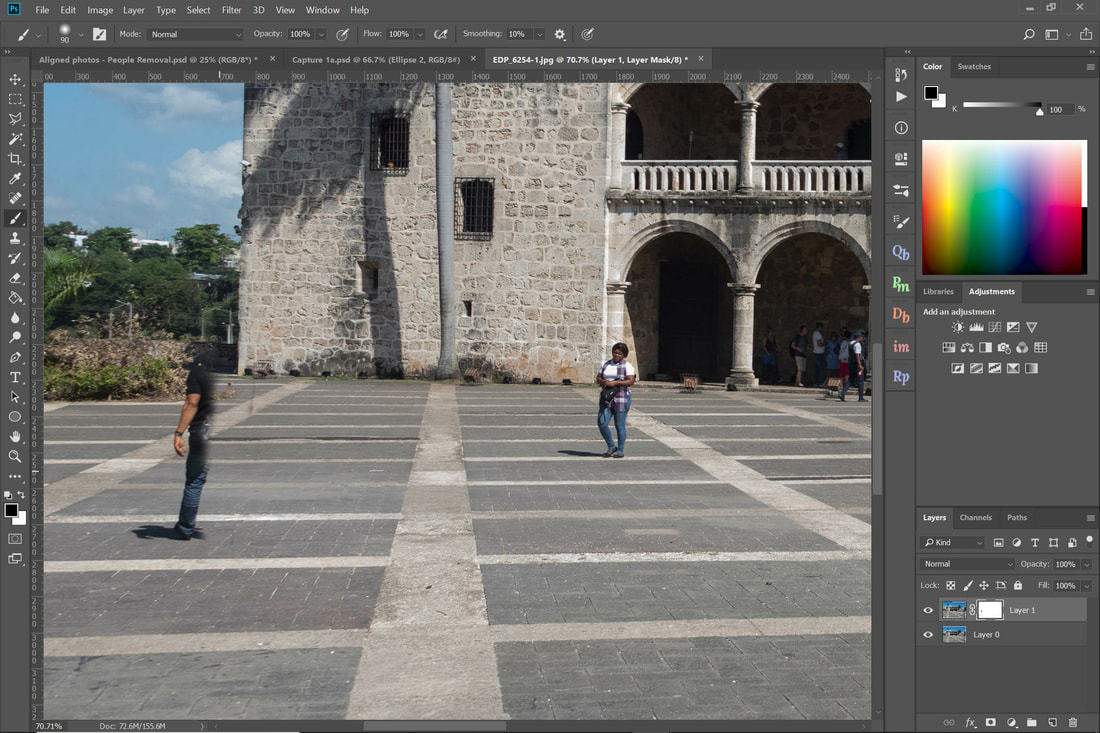
Keep on painting to remove additional figures in the image. 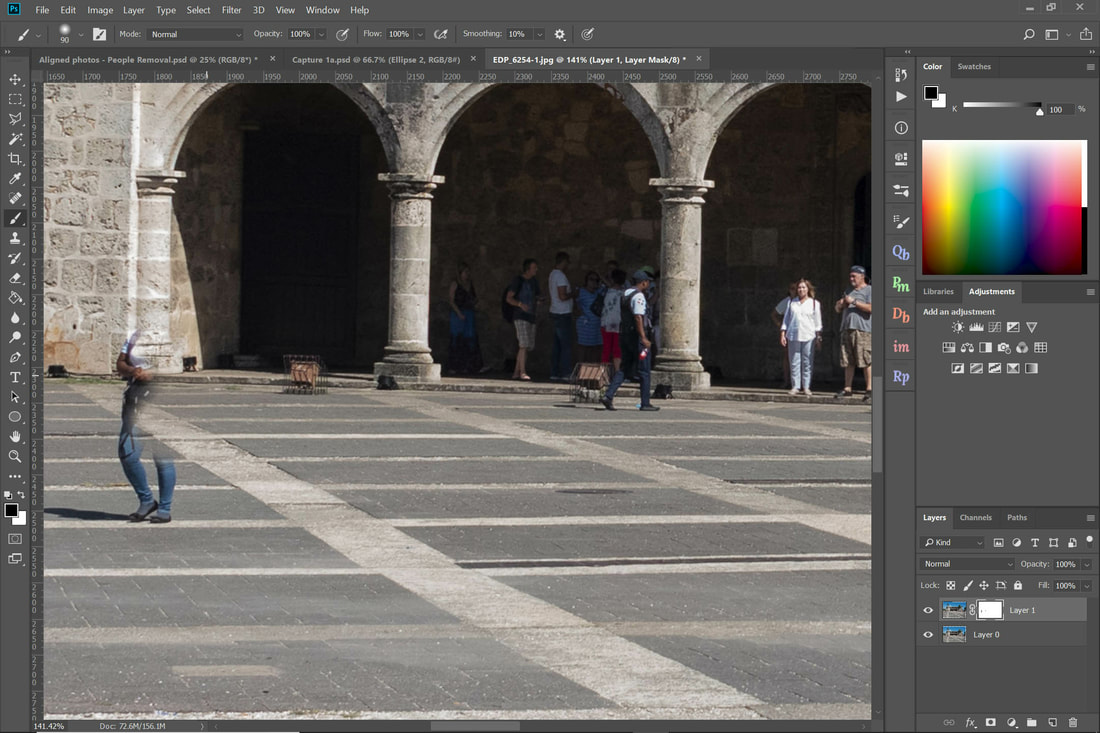 After removing your last person, crop the image (if necessary) and save. Just like magic, unwanted people in the image have been removed!  Thought for the day “Patience is bitter, but its fruit is sweet.” Aristotle
3 Comments
 Common Misconceptions Shooting into the sun can add a lot of drama to your photos, but there are some common misconceptions:
Tips for Getting Better Shots
Sample Gallery Thought for the Day
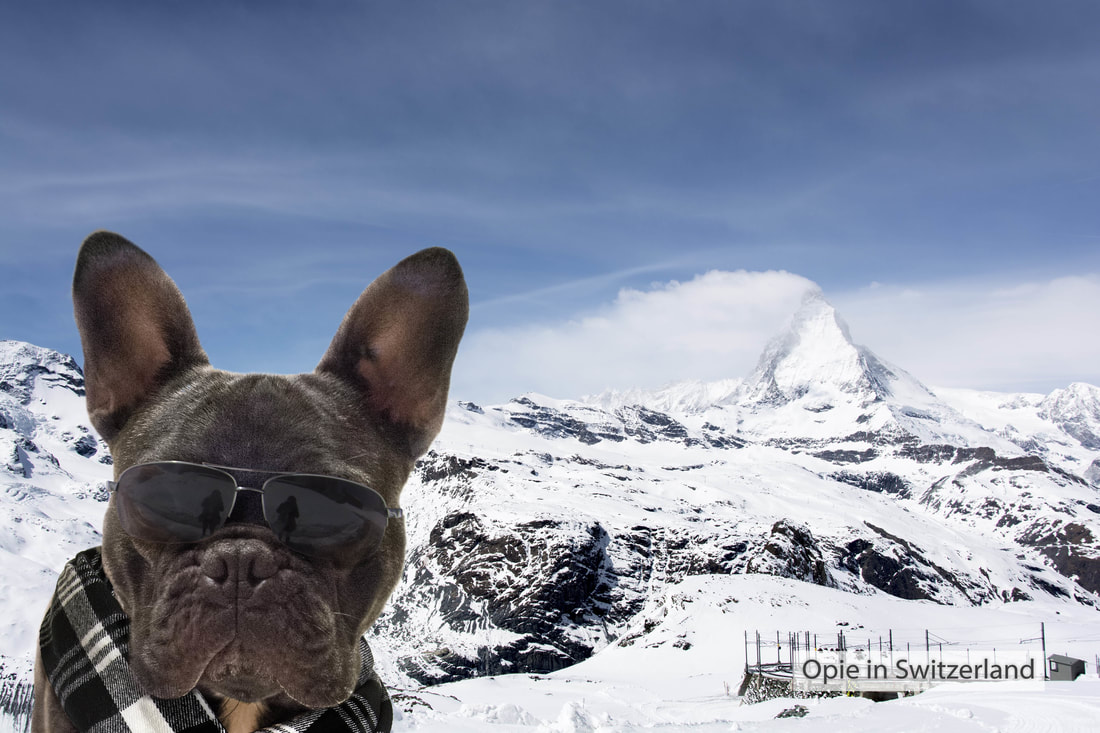
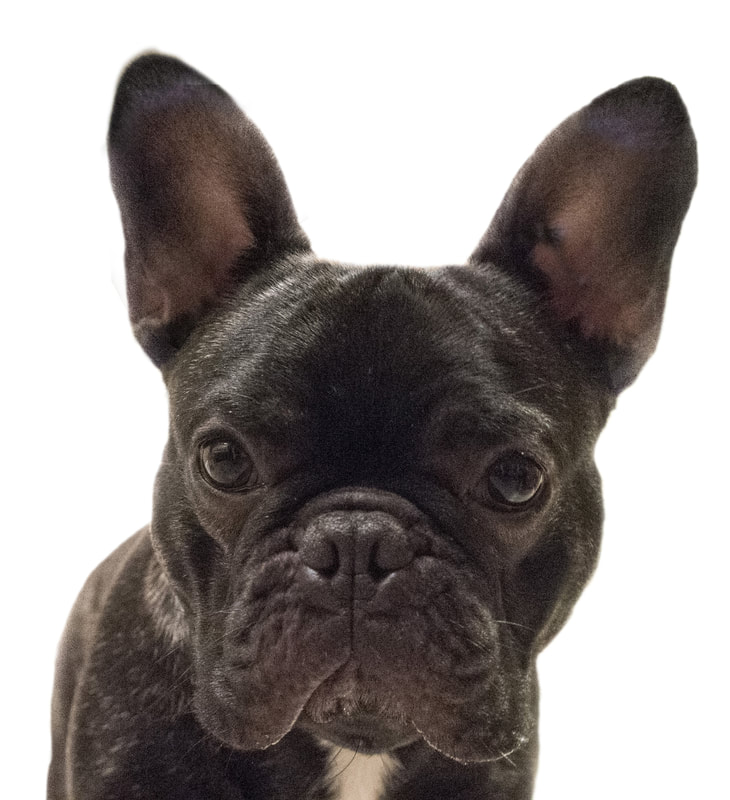
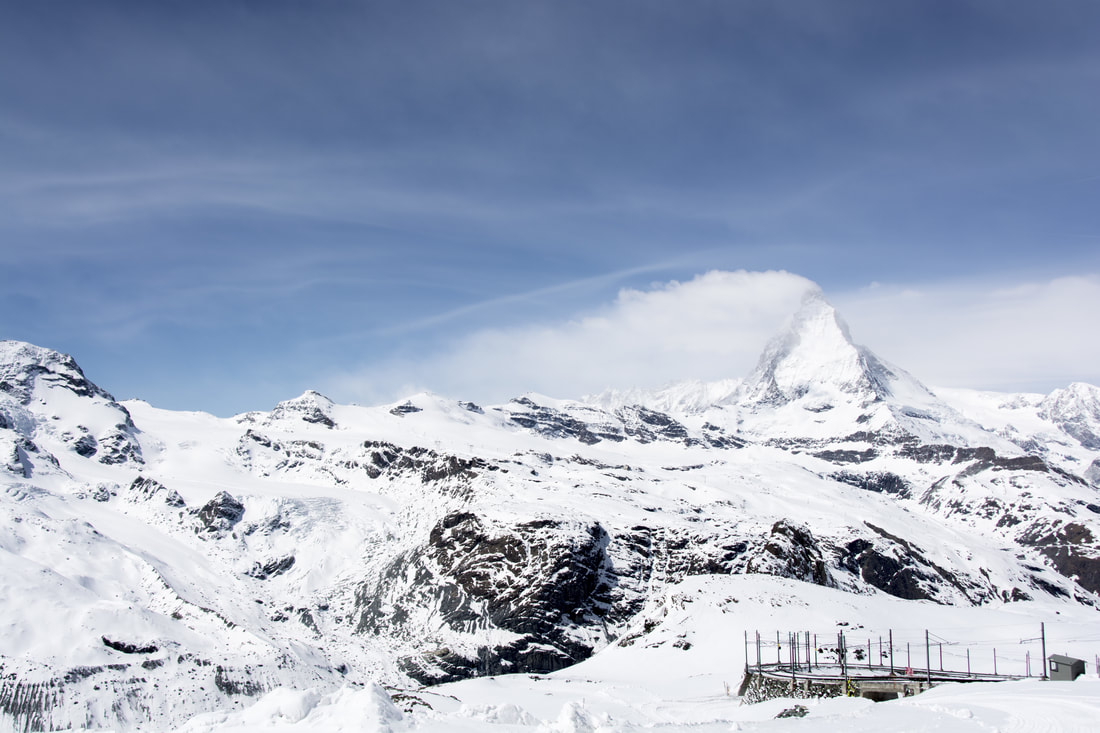
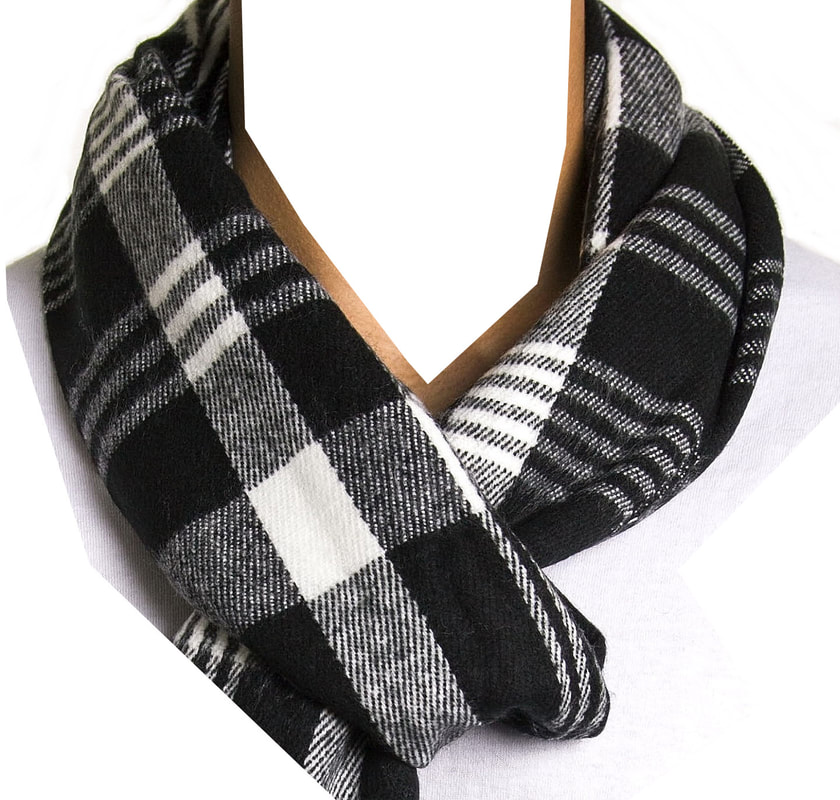
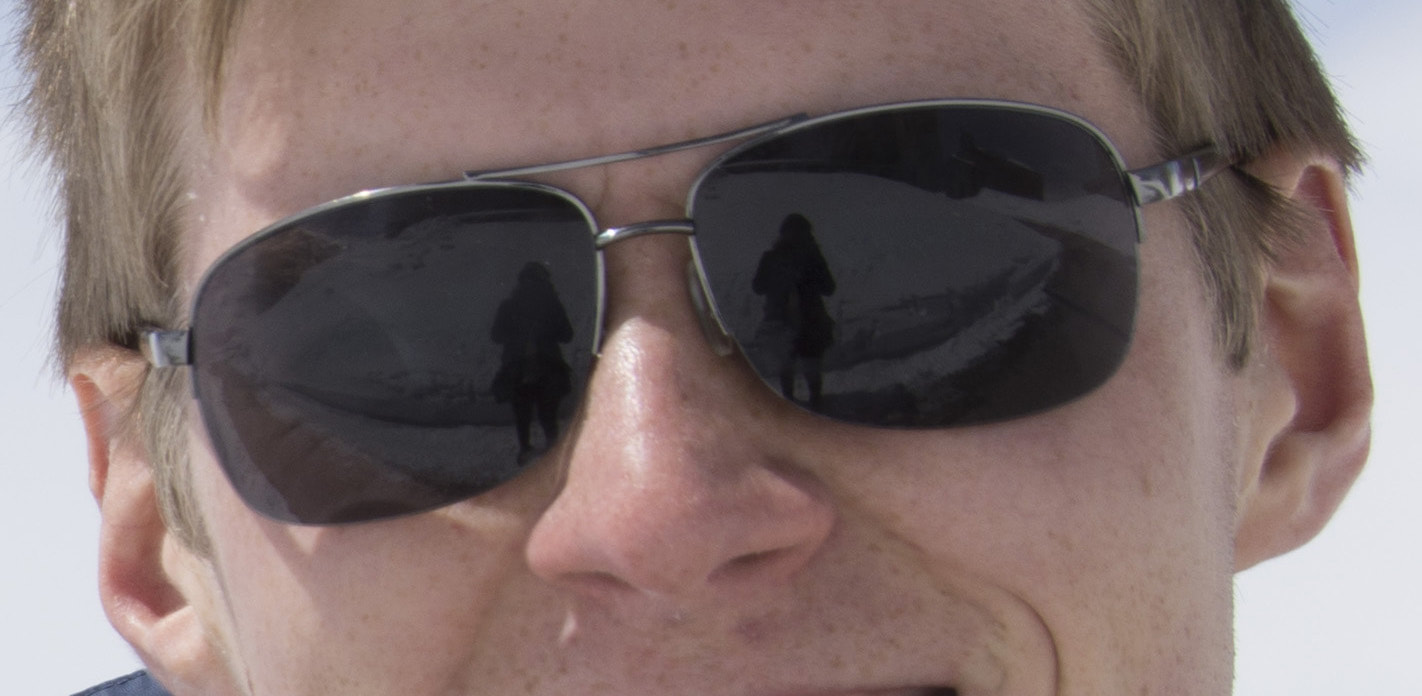
“There are always two people in every picture: the photographer and the viewer.” – Ansel Adams Or how to take your dog on a trip while staying at home. 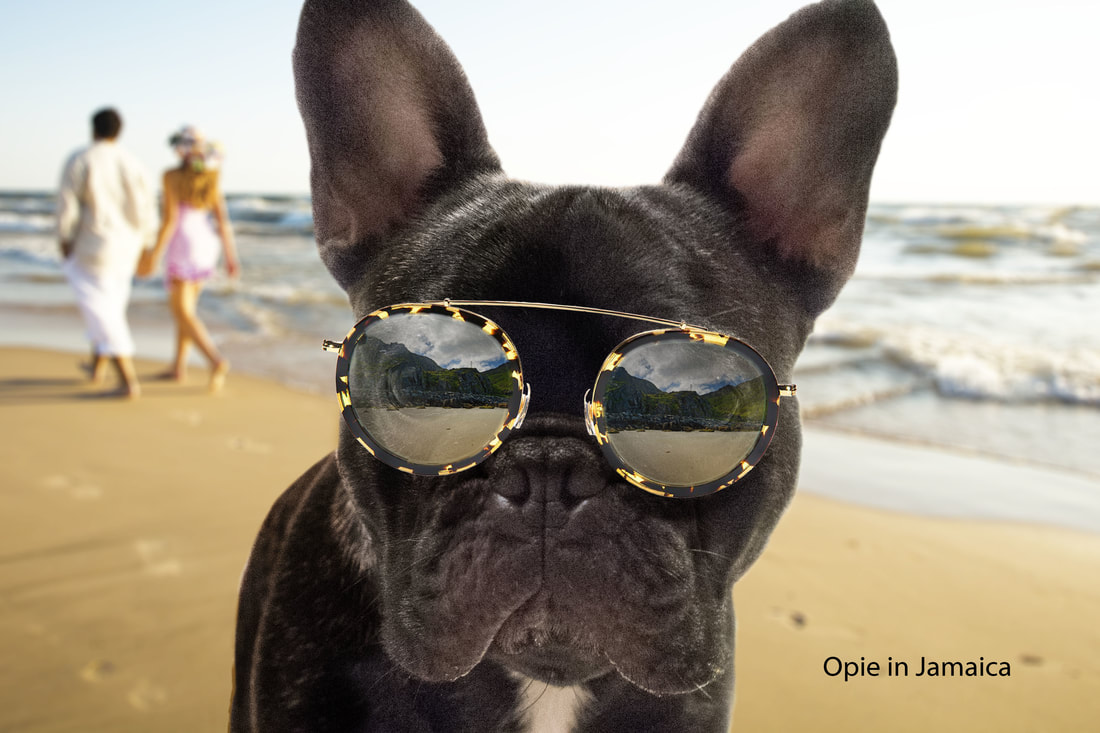 Sometimes it's fun to think about "what if". In this case what if I could take a "frenchie" traveling to different spots and have him participate in the adventures when I arrive. I have a library of french bulldog photos as my son has a little guy with lots of character. However the reality of traveling with an animal, let alone having the dog participate in activities in unrealistic. So what's the next best alternative? Well why not travel virtually, by taking Opie to different destinations. So I decided to combine a photo of Opie, with different backgrounds and props such as a pair eye glasses or a hat to integrate him into the scene. As well I needed to colour balance the photo of Opie (and props) and modify cast shadows to better integrate him with the background. Then there was the problem with the reflection on the lenses. These would have to be modified to reflect what's going on in the scene. In the "Opie in Jamaica" scene the reflections were added to the lenses. The following images shows the composited final image, with the component images that make up the final "Opie in Switzerland" scene. I hope you enjoy the traveling Opie images. May they inspire you to take your furry friend on a virtual trip. I decided to finish 12 images so that I could print a calendar. If you're interested in your own Opie calendar please contact me! Thought for the Day
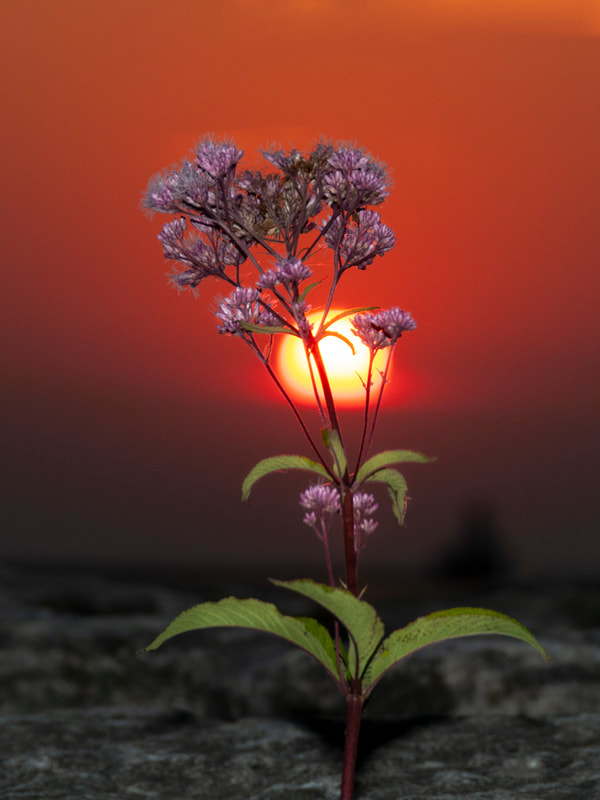
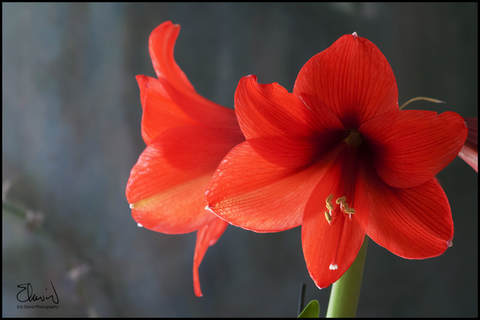
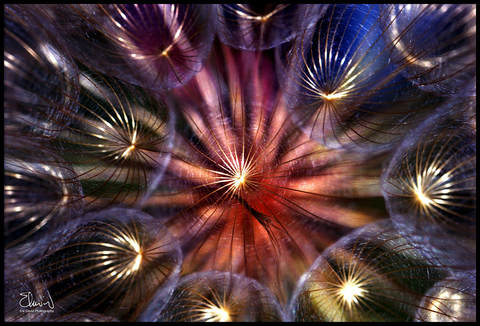
“Vision is the art of seeing what is invisible to others.” Jonathan Swift What's the best type of day to take photos of flowers? Surprisingly, not when you're taking that stroll through a wonderful garden on a sunny day. Bright overhead sun creates harsh shadows and can wash out colour. 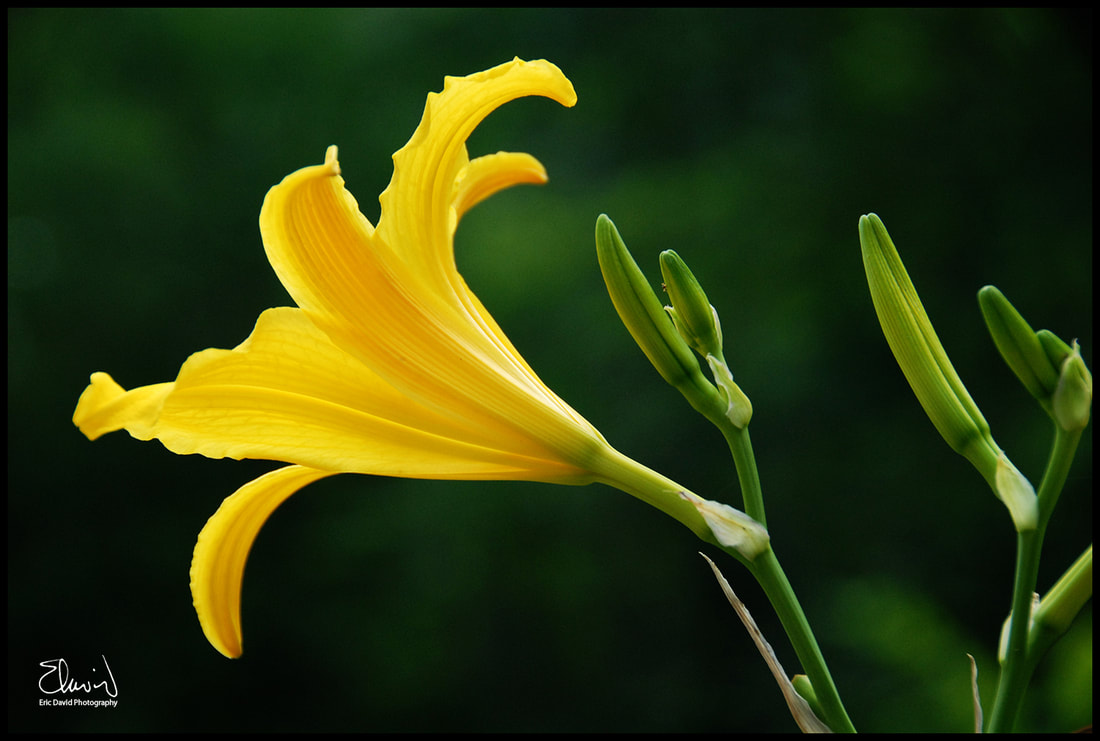 Photo taken on overcast day Take photos on bright overcast days or step out just after the rain has stopped and it's still cloudy. The overcast sky acts as a large soft box removing harsh shadows and enhancing colour. After a fresh rain colours are also intensified. 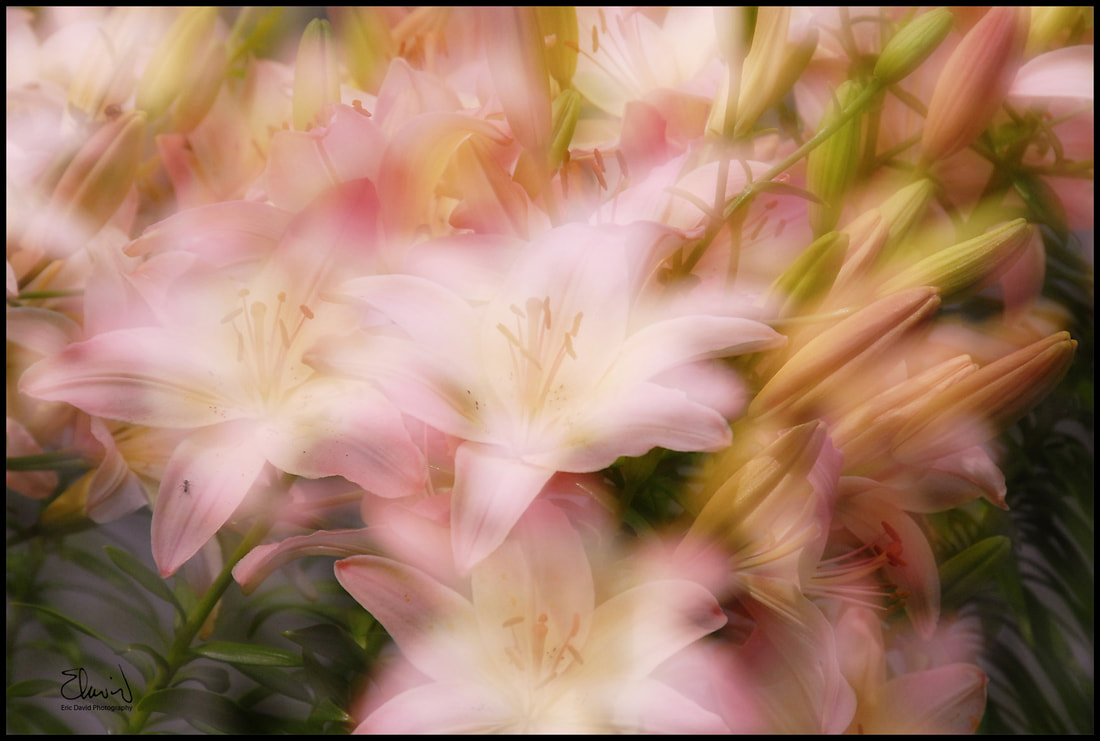 Multiple exposure photo If you can't avoid the sun try take an in-camera double exposure. By combining one exposure that's sharp with another that's out of focus you can reduce the amount of harsh contrast and create a glow around the flower. It's important to either use a tripod, or if hand holding the shot, keep your camera as steady as possible. Another option on sunny days is to take the photo while the flower in covered in shade, or create your own shade with a hat.
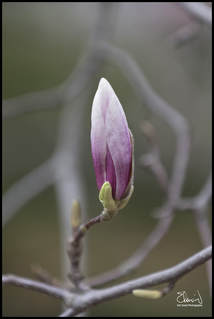
Isolate the flower and remove clutter by changing your perspective and simplify the background. This allows the flower to stand out. Alternatively, if you can't simplify the background this way, use a widest aperture available on the lens (F2.8 for example), and use the longest focal setting (for example 200mm) to blur the background. This isolates the flower by blurring the background. 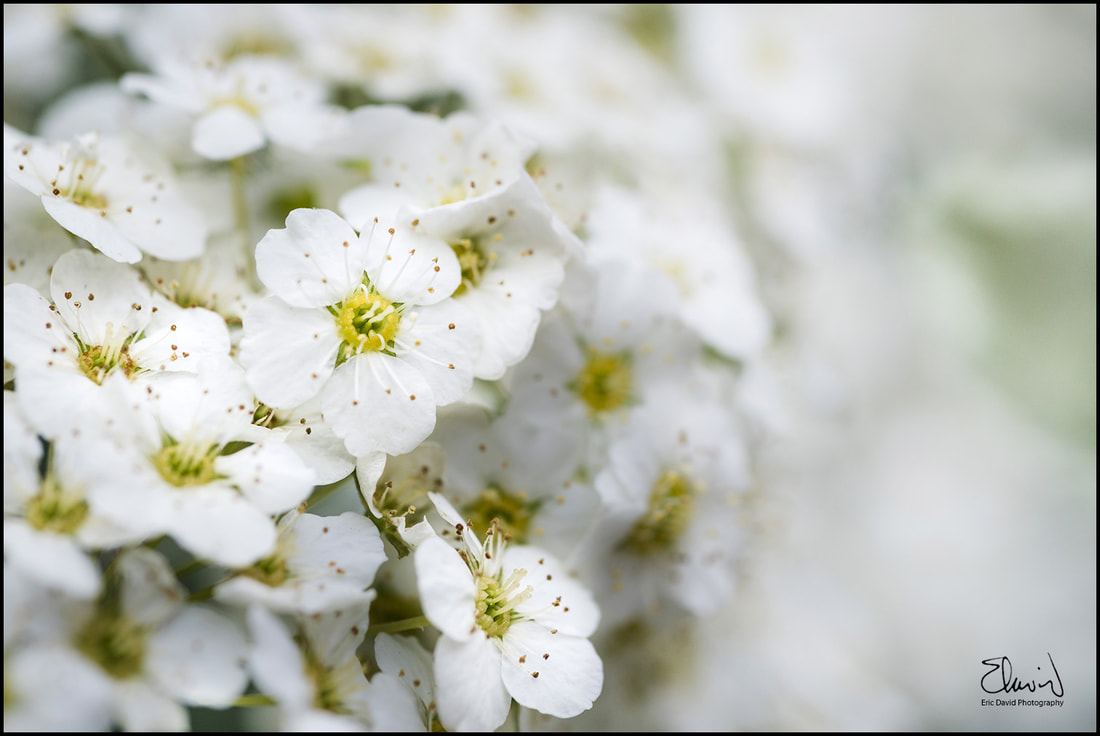 Dancing pattern of florettes Create a visual pattern. This works well if there are many flowers in a field or if there's a bunch of flowers in the garden. Look for interesting or repeating patterns and textures to lead the eye through the image.
Take a close up! If you have a lens with macro capability zooming into a portion of the flower can provide opportunities to make wonderful images. Be careful with your focus however, as the depth of field will be very shallow. Thought for the Day
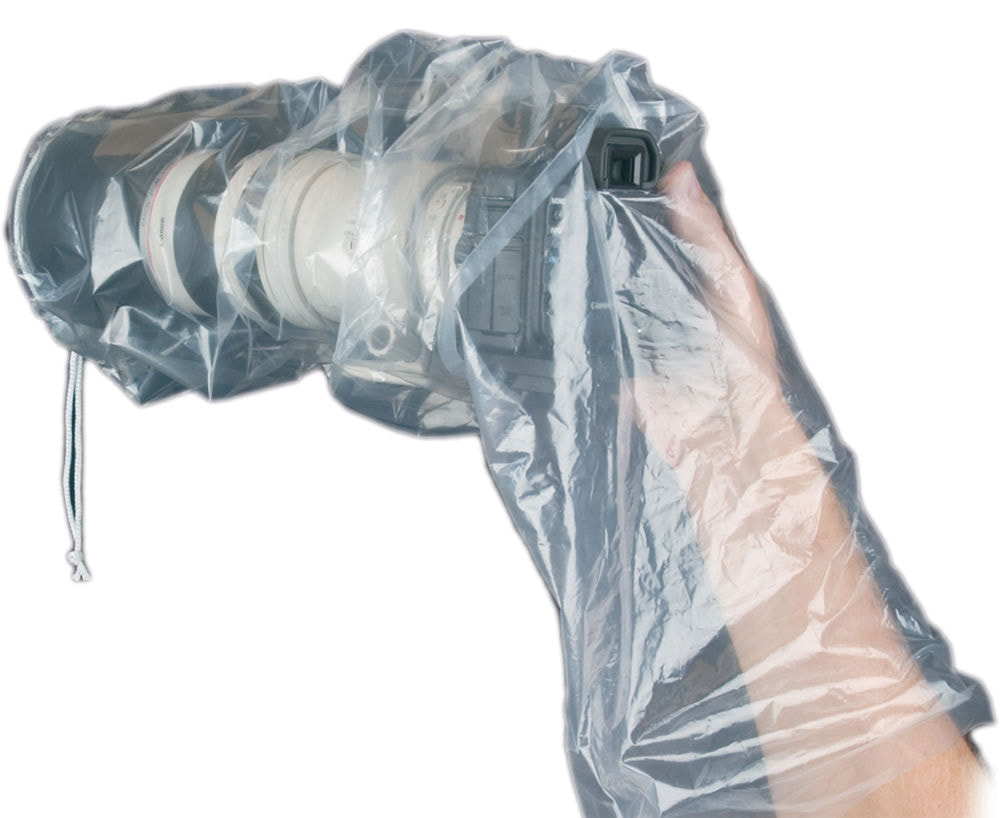
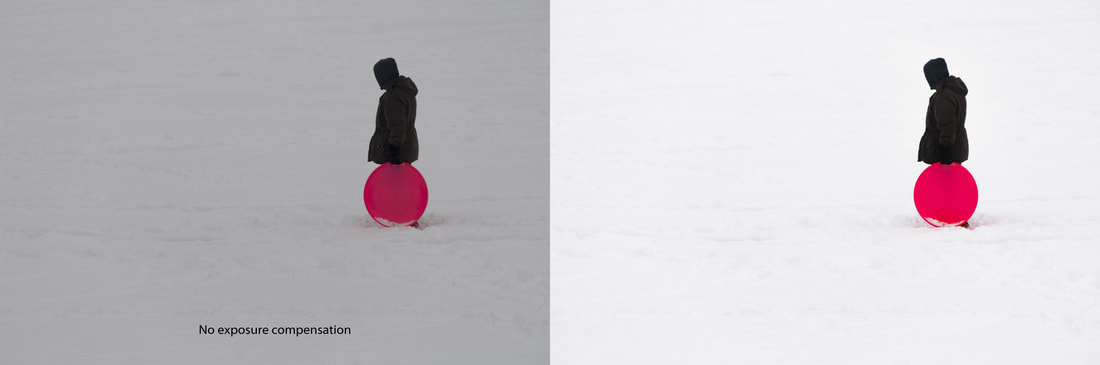
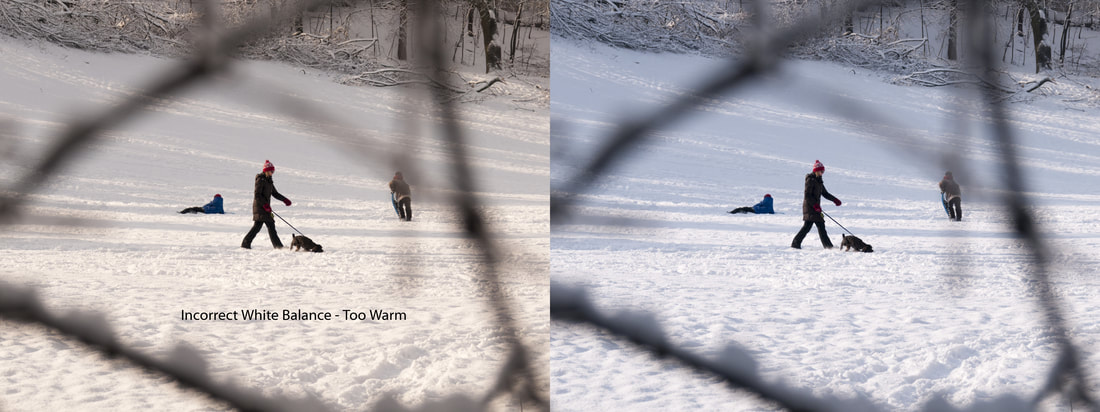
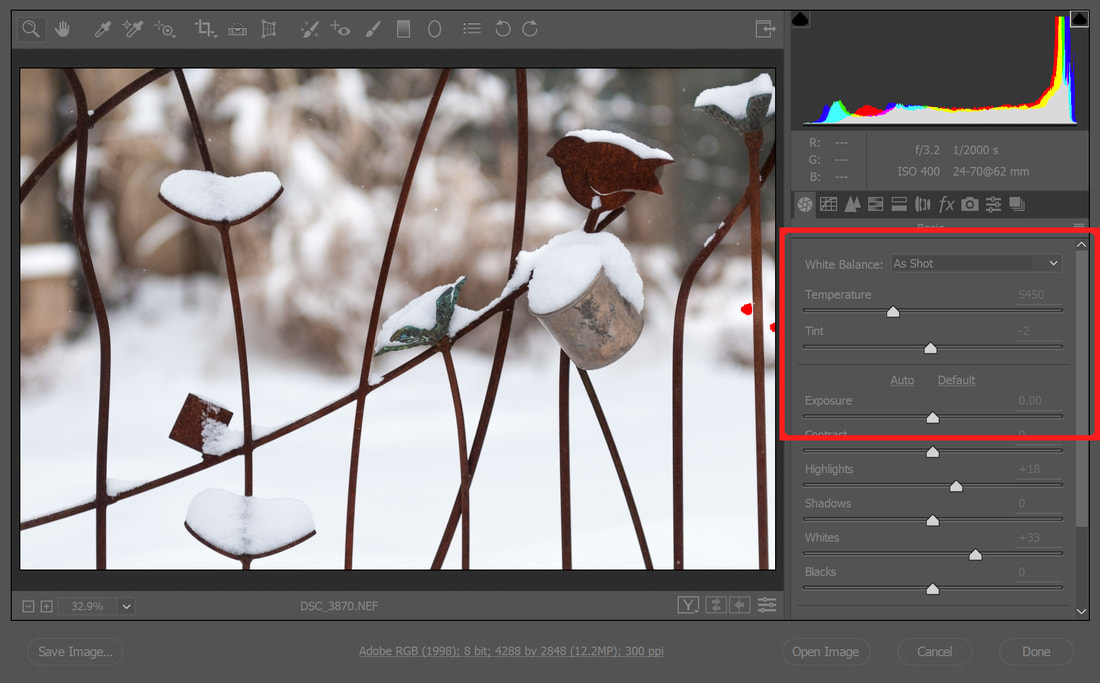
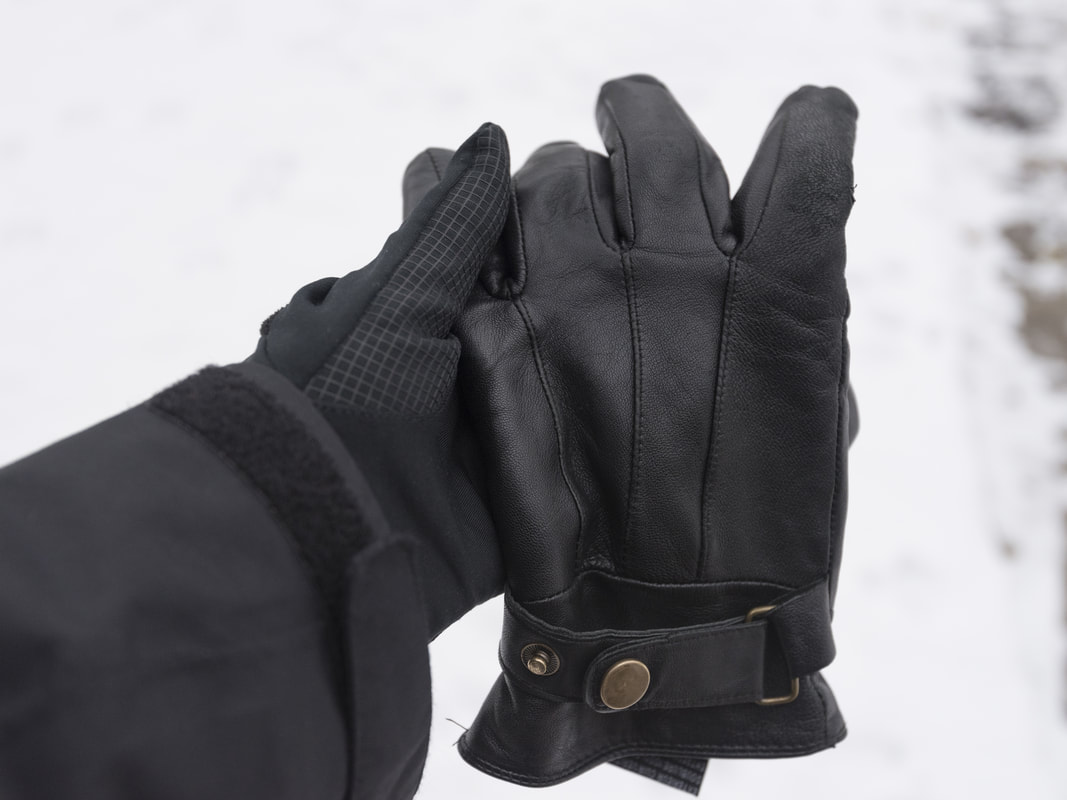
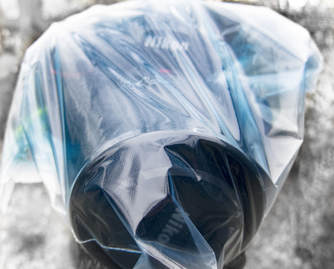
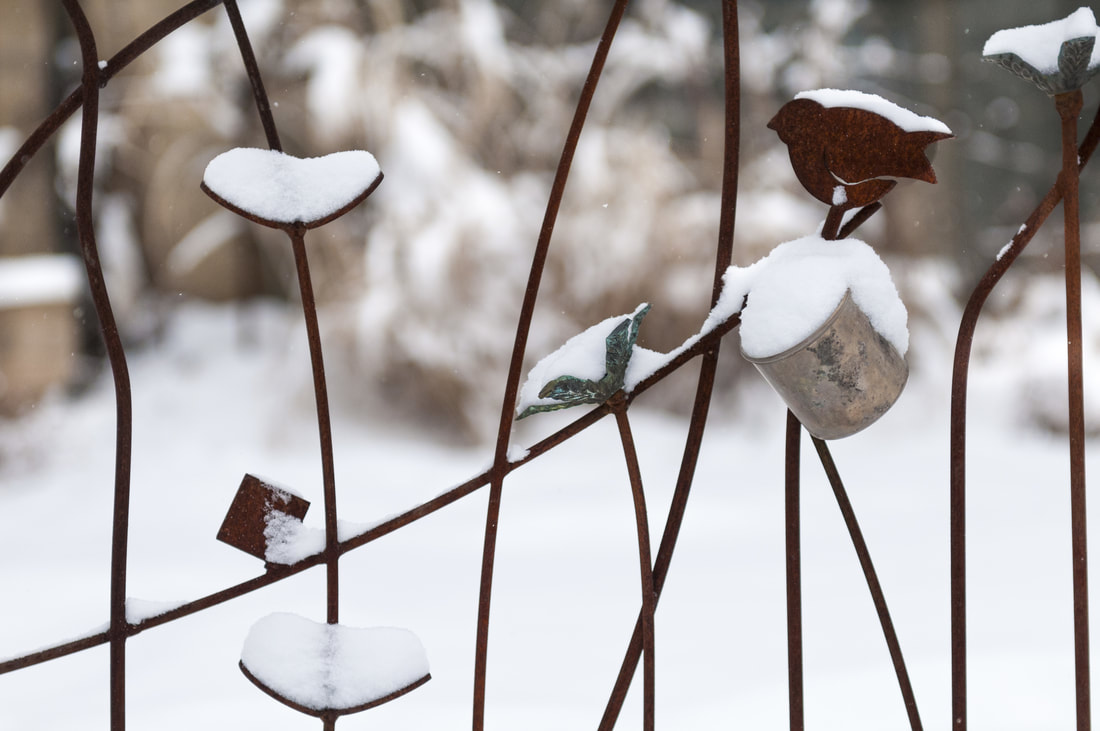
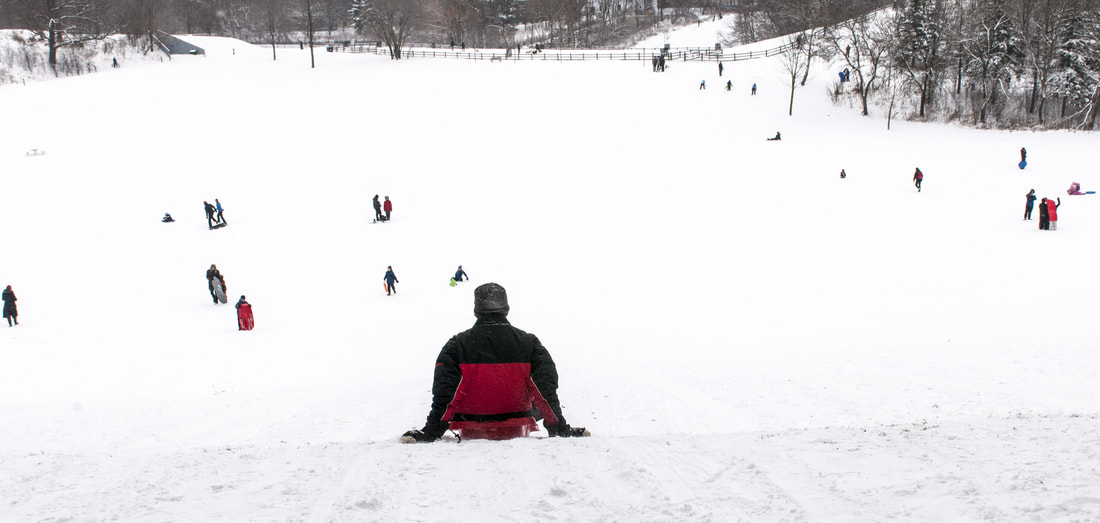
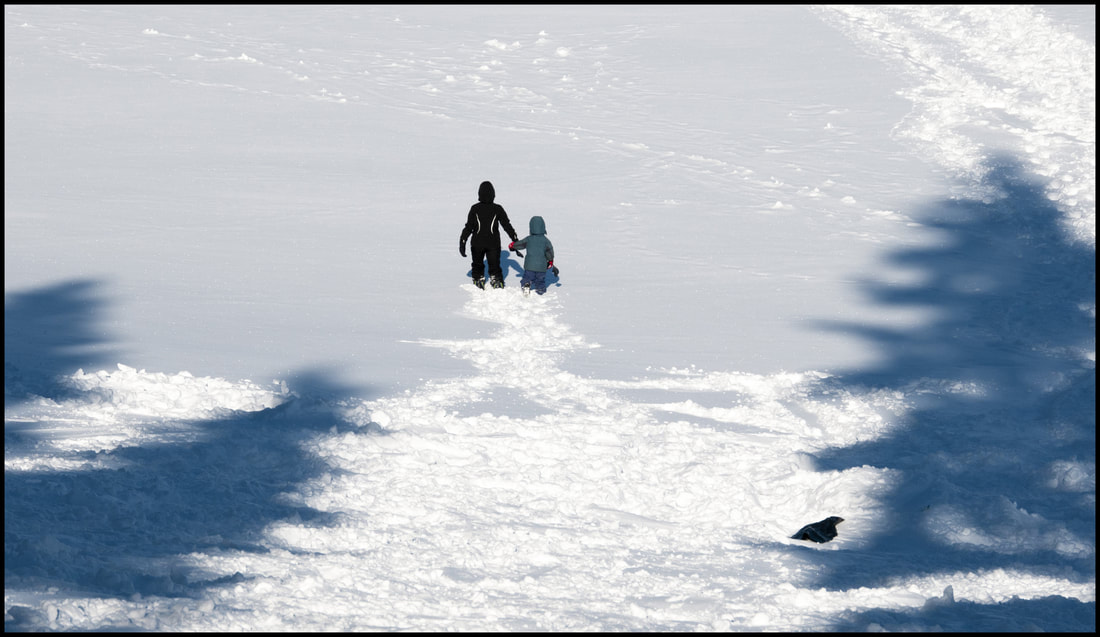
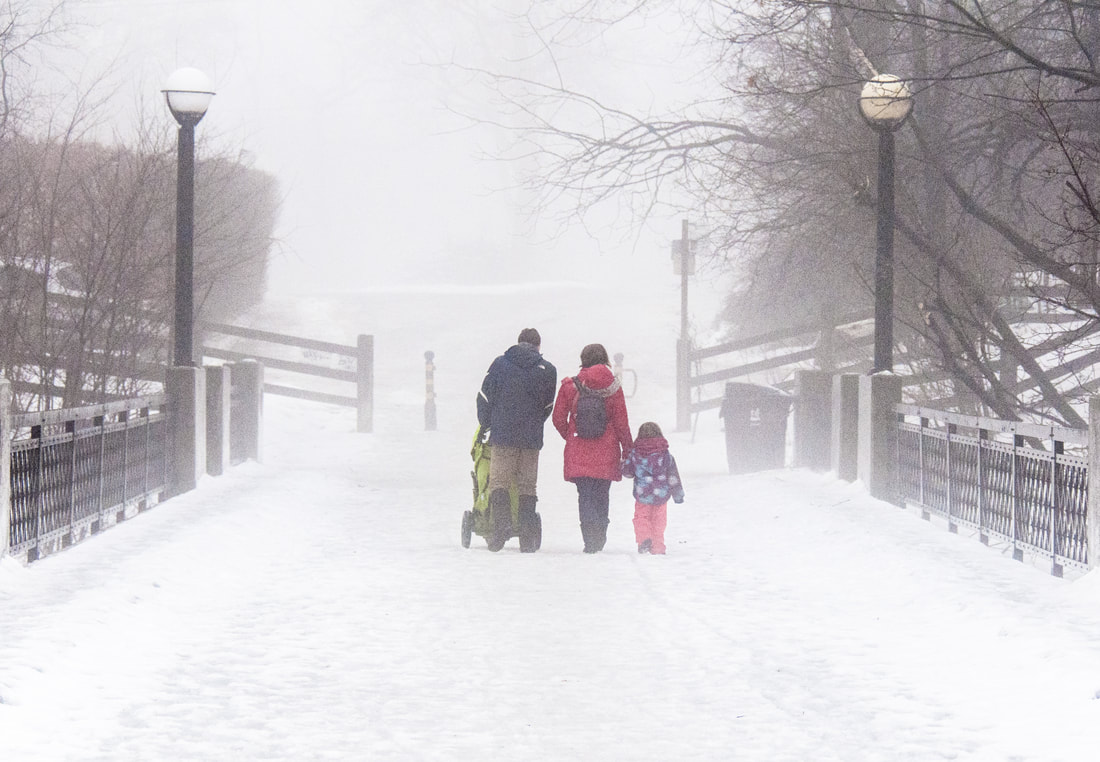
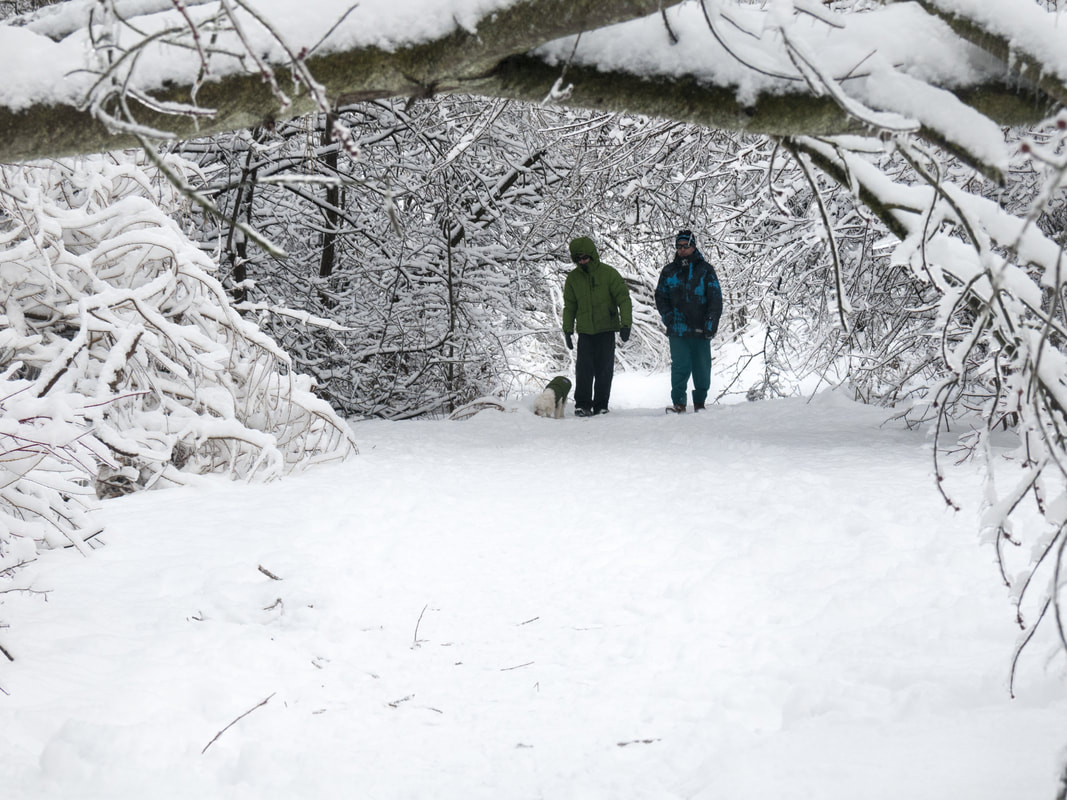
“To photograph truthfully and effectively is to see beneath the surfaces.” – Ansel Adams 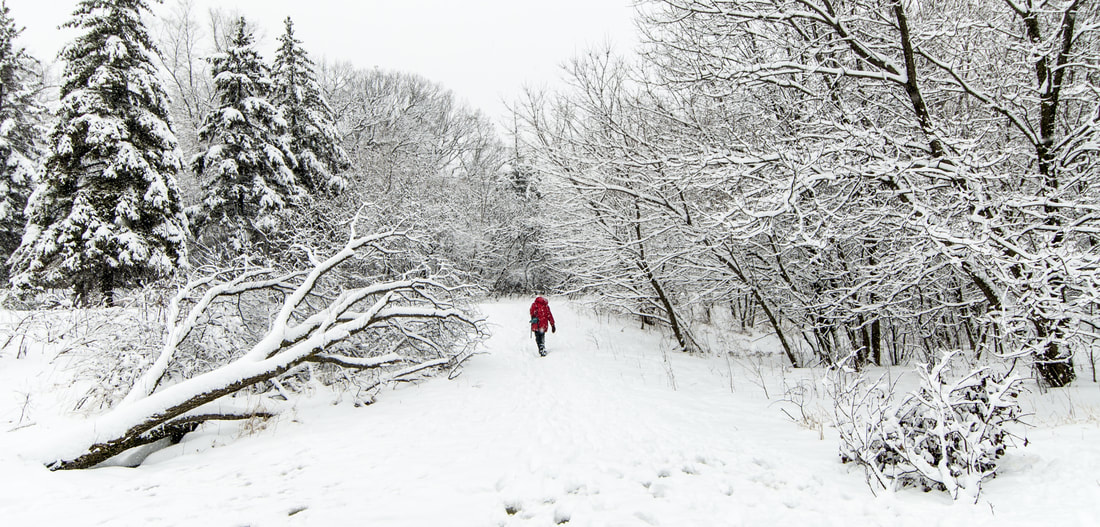 Eight essential tips for taking pictures in the snow.
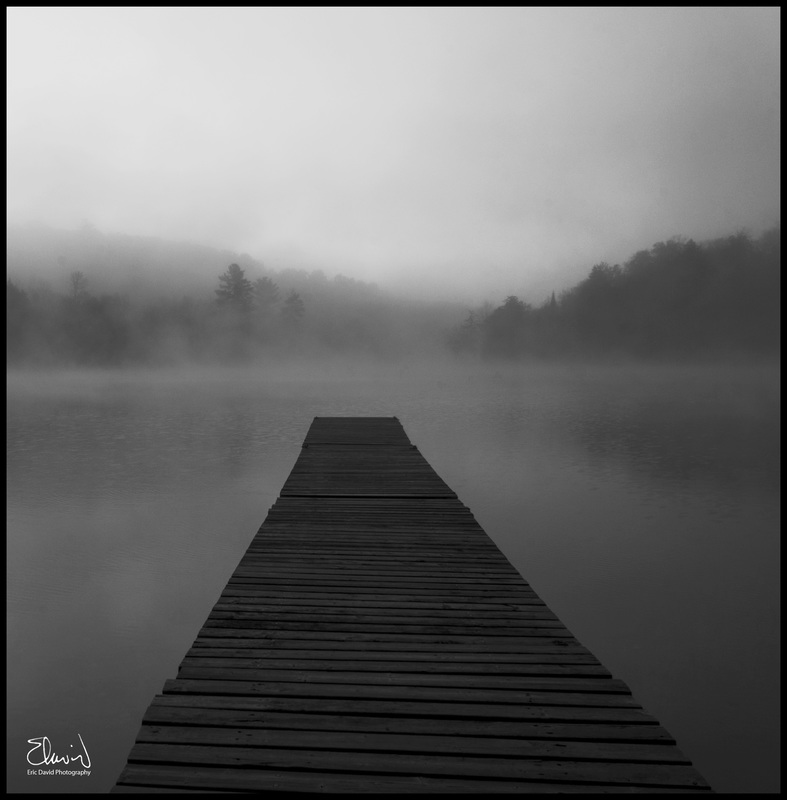
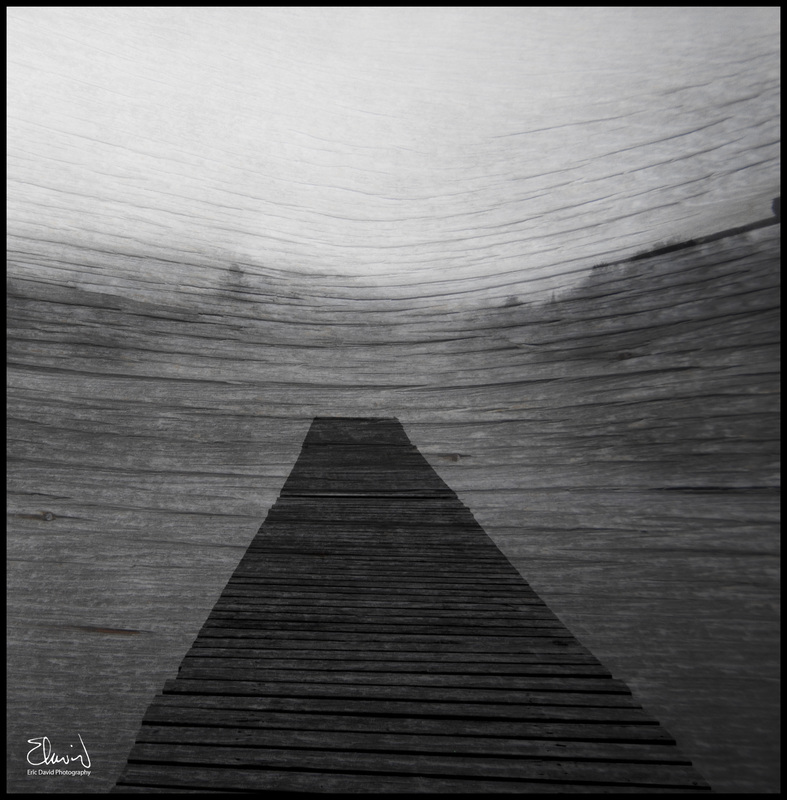
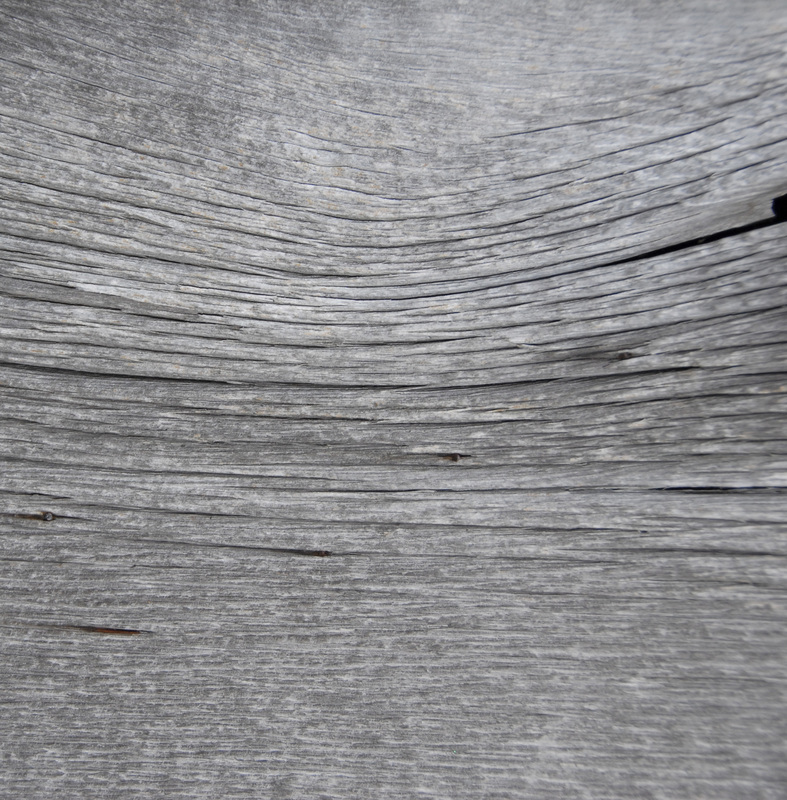
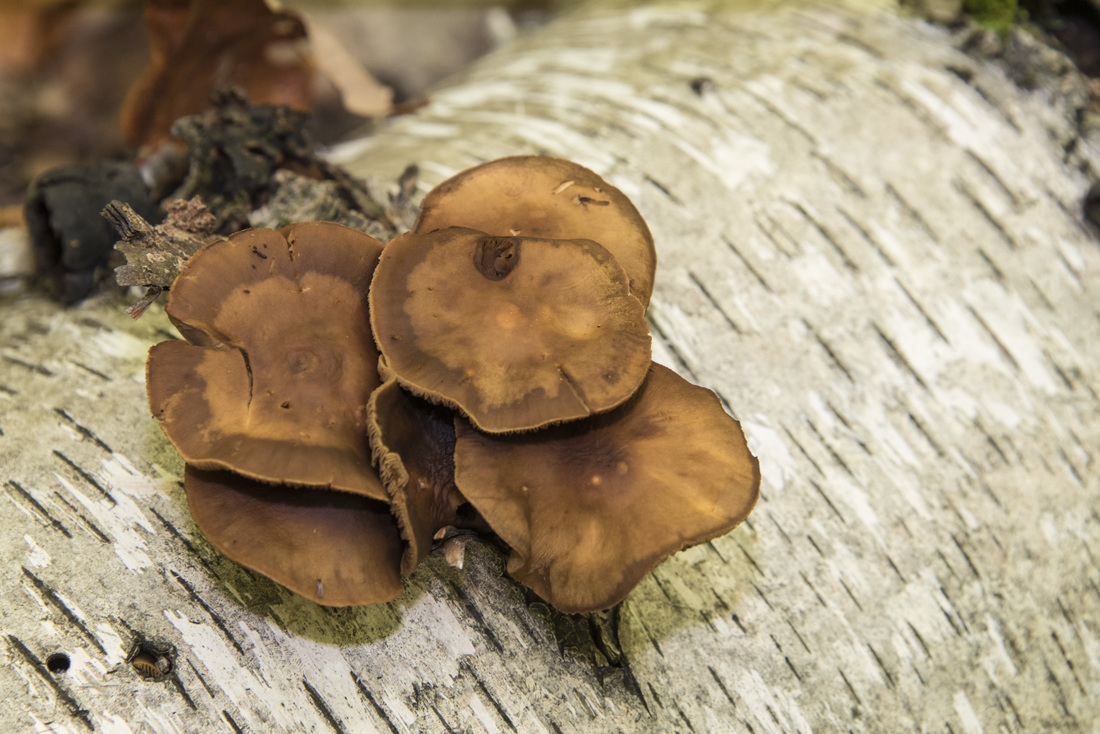
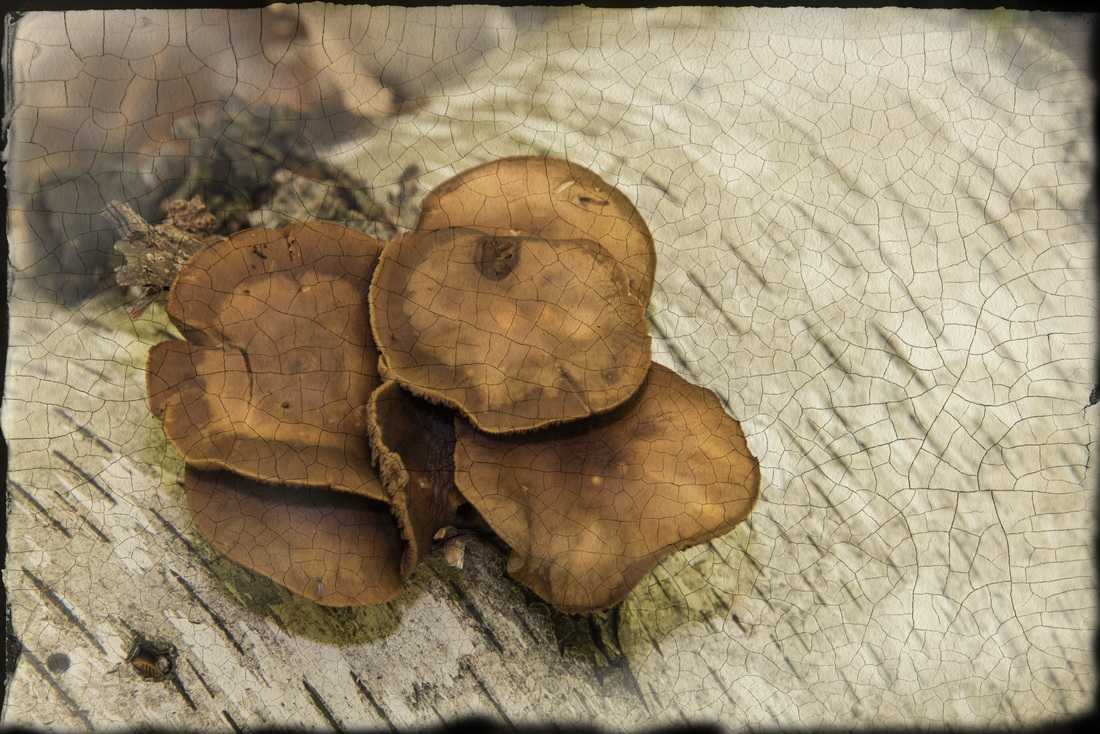
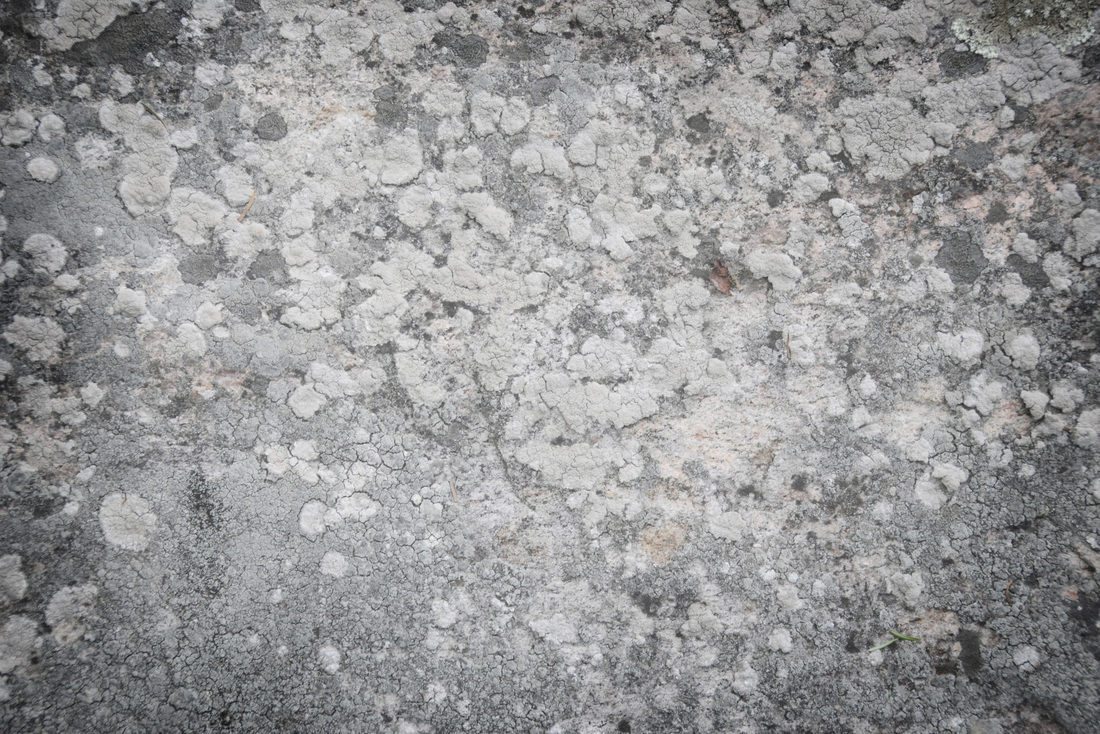
 Thought For The Day “The single most important component of a camera is the twelve inches behind it.” – Ansel Adams Have you ever wondered how to create those photos with textures integrated into the image? The challenge is really one of melding a good base photo with an appropriate texture so that when combined it looks natural and adds value to the interpretation. In the above "Before & After" image I combined a photo of the forest floor with the texture from an aging sidewalk. I think the texture subtly enhances the image, making it more interesting and providing deeper meaning. If you have an image editing program (Photoshop, Elements, Painter) with the ability to combine layers you can create these photos too. Place the texture image on top of the base image and use soft light as the blending mode. You can also use screen (which lightens) or multiply (which darkens) as blending modes. It's worth while experimenting to see what works best. Once you've blended the images now it's time to experiment. For example, modifying the texture layer's opacity can improve the integration of both layers. Or try burning and dodging parts of the image. This can help bring into focus those areas that are most important. In the three images below the left most image is the original, the center image is the final result and the right most image is the texture that was used. Texture can be used in all sorts of ways. Here's an example of how Victoria Wallace, a good friend of mine, uses texture to enhance the acrylic painting The End of Innocence. Victoria uses the crackle in the piece to suggest an earlier time, which in combination with the vintage ceramic figurine subject matter suggests an unchangeable innocent past. Similarly one could expand the interpretation of the original photograph by combining the physical with the metaphysical. The wood, which is present in the dock, also becomes part of the substrate of the reality around it. The crackle suggests something old and worn supporting new mushroom growth that couldn't exist without the rotting organic matter that they grow on, or the contrast between the hardness of concrete that through time transforms and breaks down just as the leaves transform to become soil for the forest floor. Thought for the Day
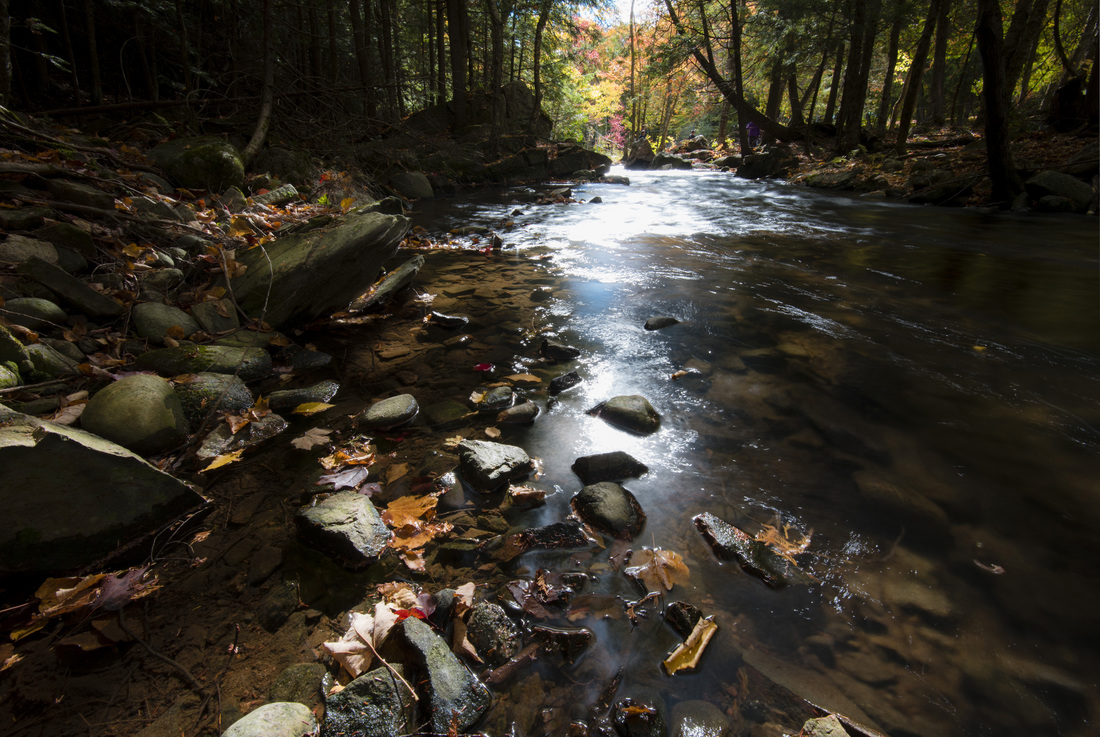
"The true work of art is but a shadow of the divine perfection." Michelangelo  Sometimes it's worth your while to look again. On the long weekend I was out exploring an area beside the Gull River, taking a few shots and looking for that perfect picture. I'm not sure that I found that perfect image, but I was able to get some interesting shots, maybe even a couple of "keepers". The image above illustrates what you can do when you rethink your image. The first shot (on the left) is a standard exposure taken at 1/125 second, f6.3 using a wide angle lens at 16mm. There's not a lot of contrast in the image and the reflections in the water hide some of the interesting details underneath. The second shot (on the right) was taken at 2 seconds, f22 using a 3 stop ND filter. The second shot has a lot more contrast, the water's been smoothed out and the highlights aren't as fractured.
Here's another image, this time taken at 8 seconds using a 10 stop ND. 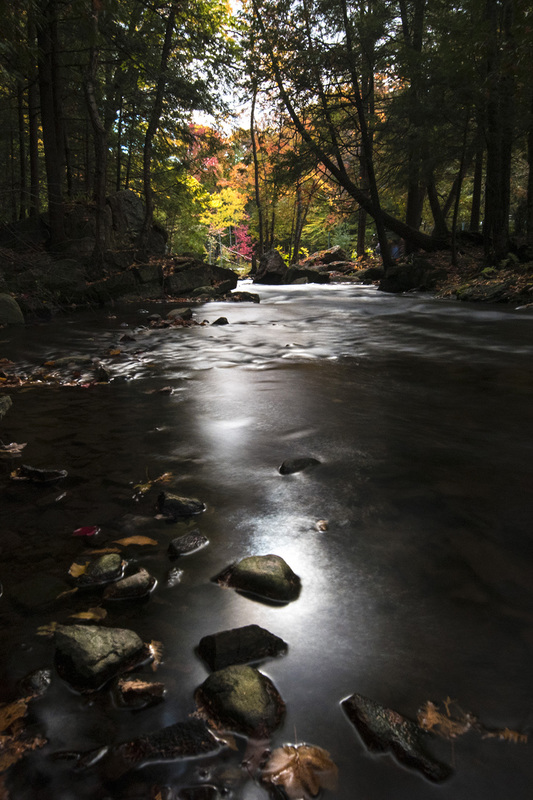 Thought for the Day
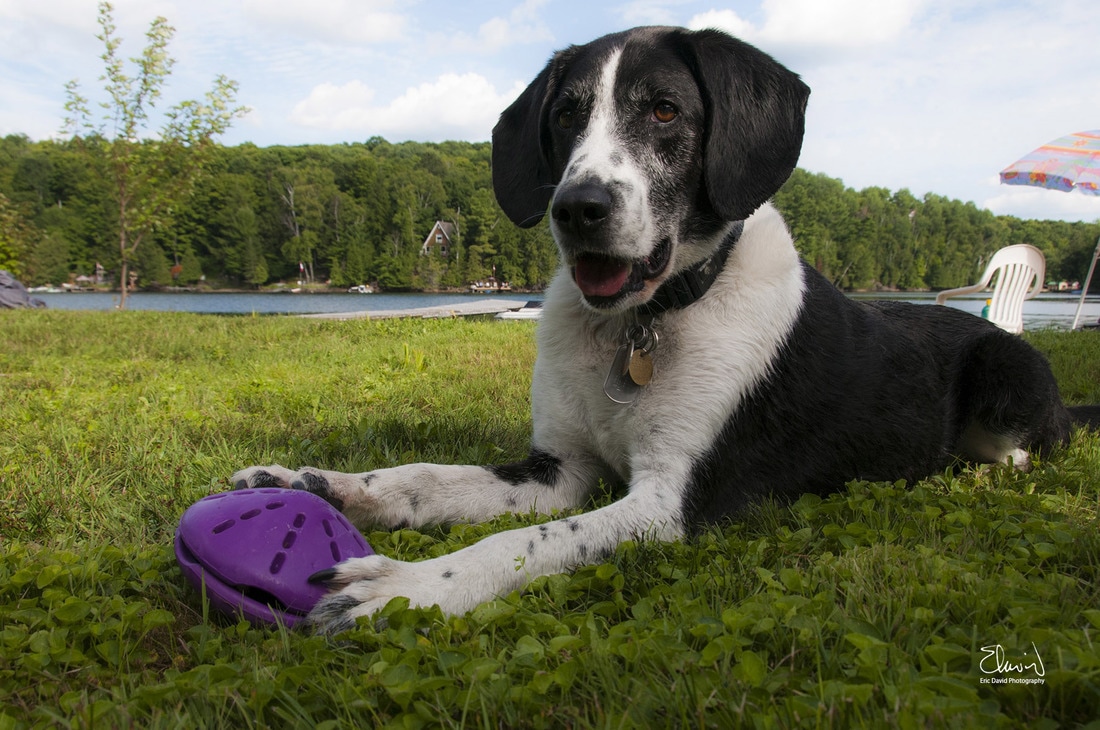
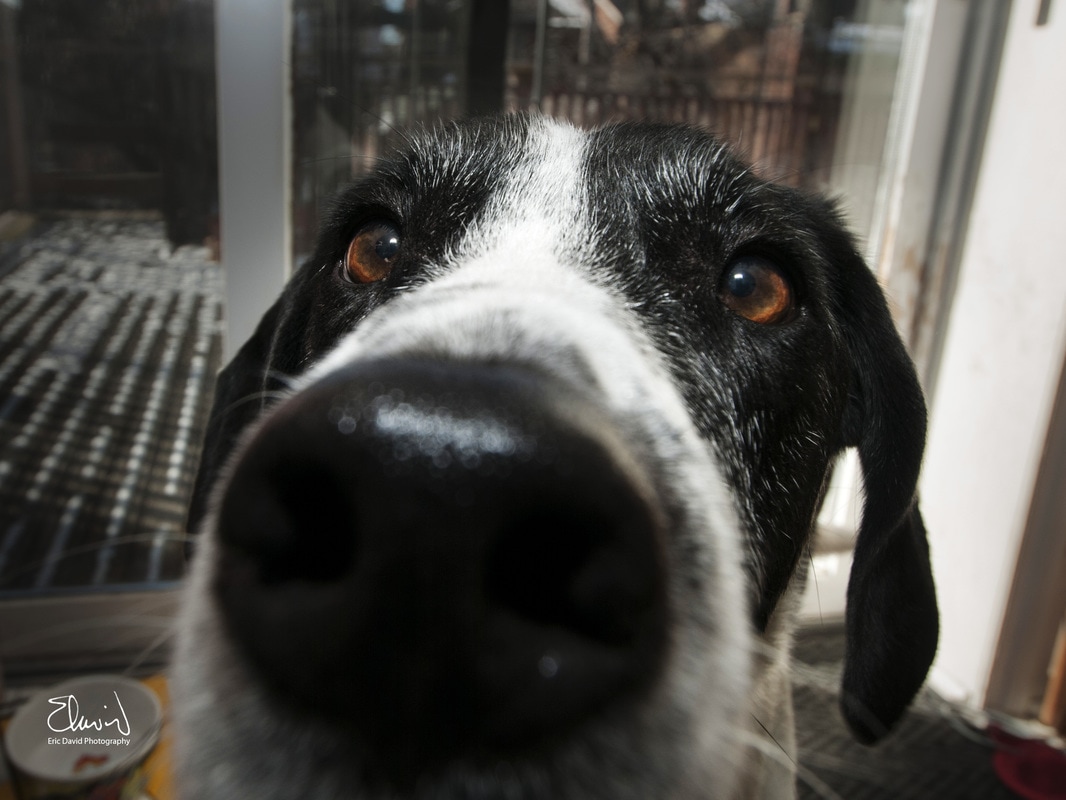
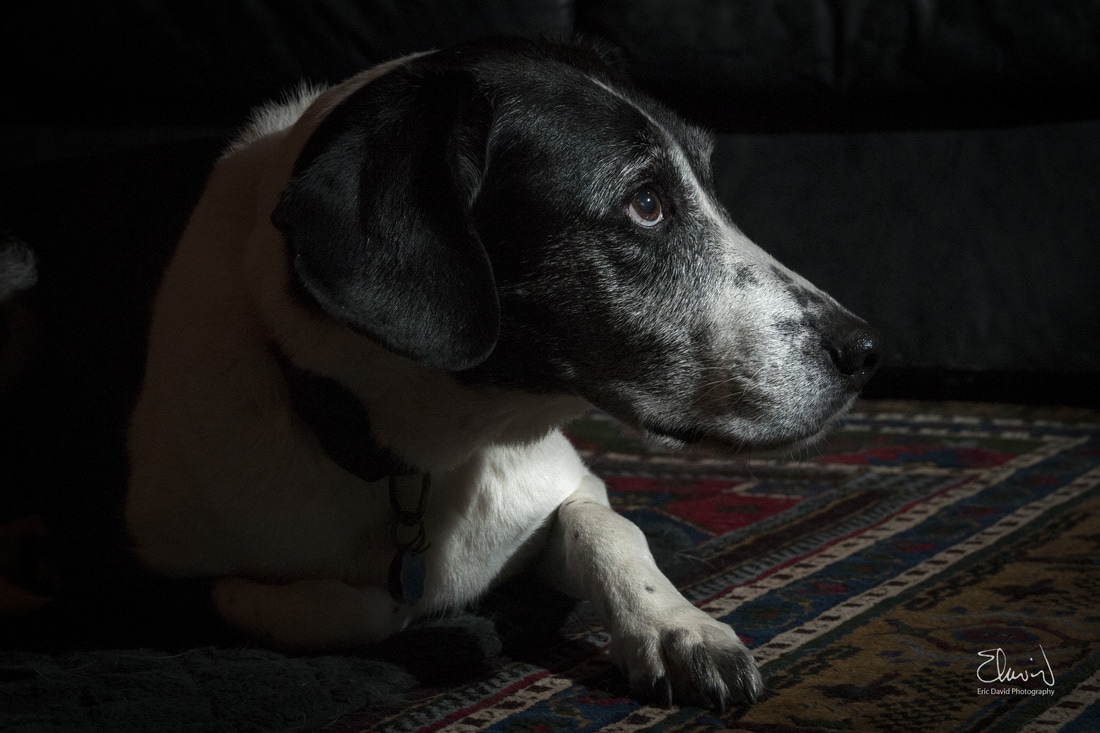
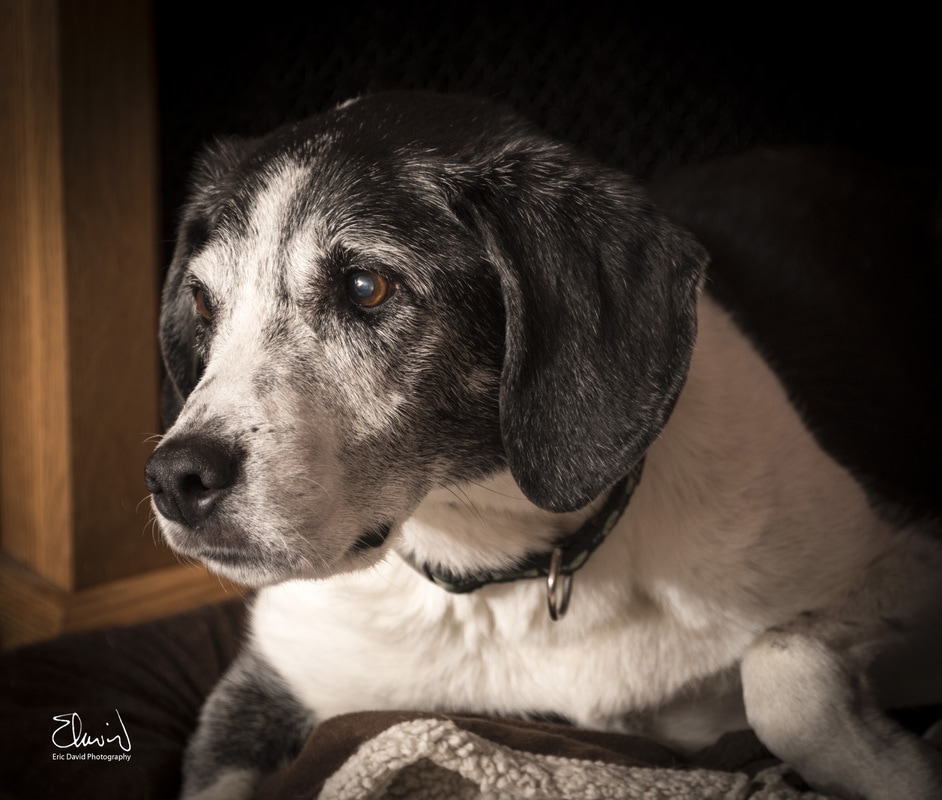
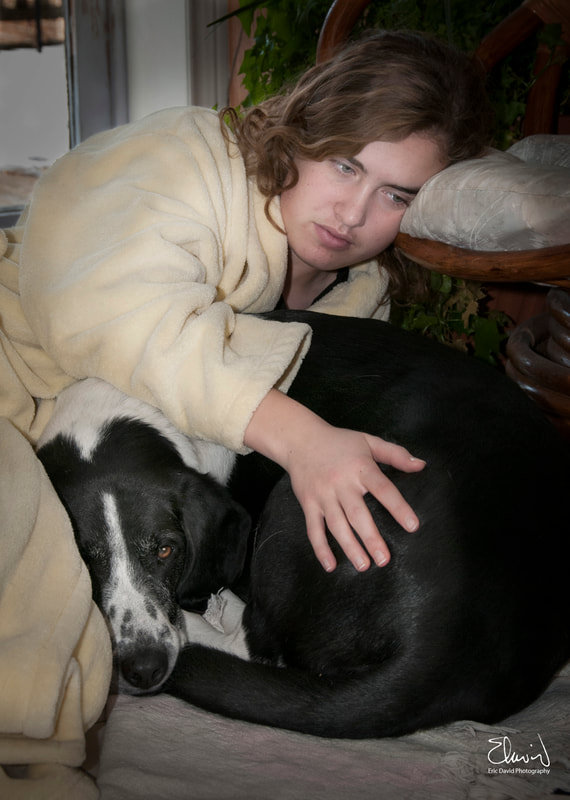
“Luck happens when preparation meets opportunity.” Senca 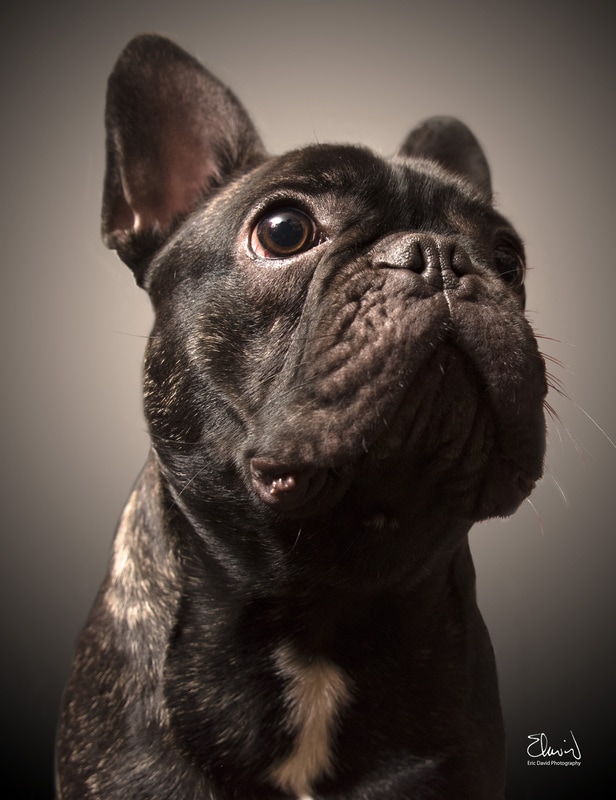 Opie - The Smallest Hero If you have a pet, you have an instant model. They're funny, frustrating, and loving. They're natural born actors. Each pet has it's own unique personality and relationship with you. Opie, captured above, is an energetic french bulldog with a big personality. He's also a very small dog. To capture Opie's personality this photo was taken with a wide angle lens from below. An off camera flash was used to provide modeling light for Opie's dark fur and provide a nice catch light for the eyes. Opie's hero's pose now makes him seem as big as he thinks he is. In this blog we'll discuss some ideas on how to improve your pet portraits using one or more of the following techniques:
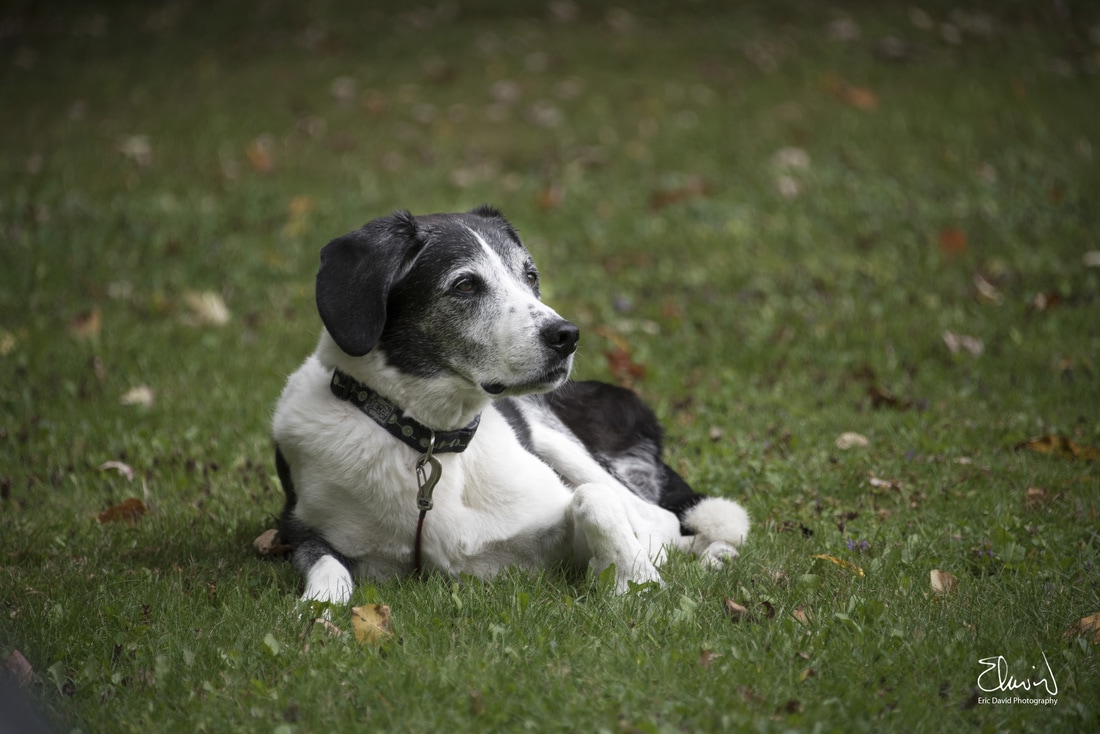
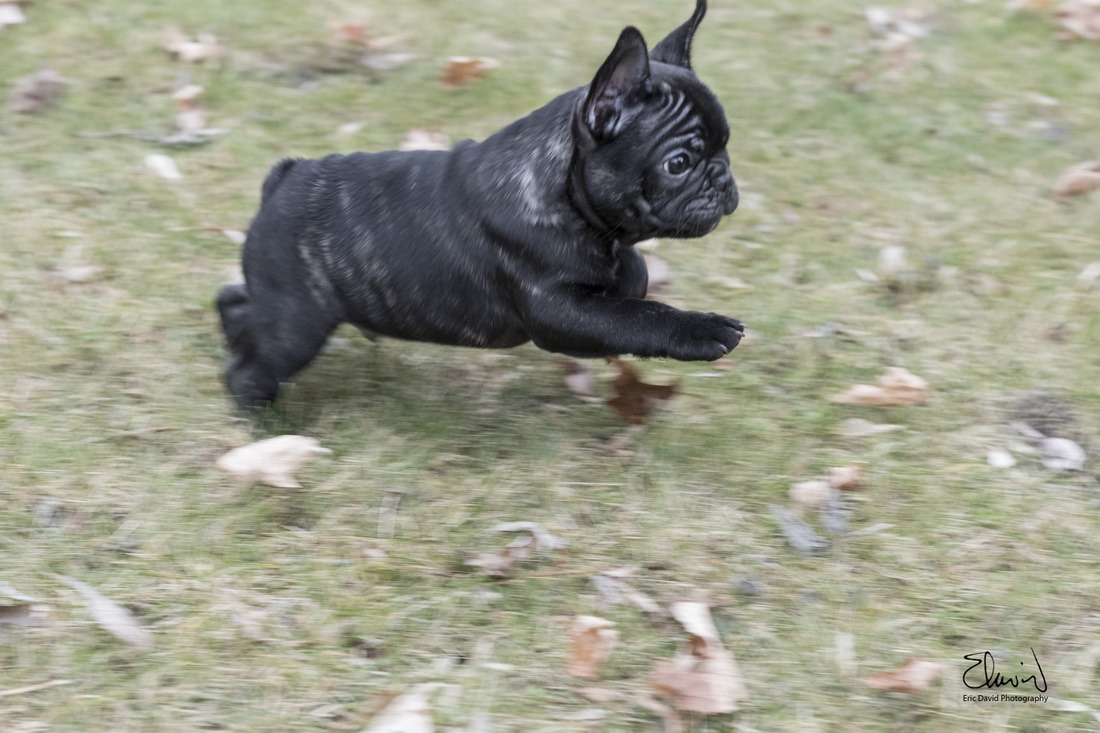
Cropping for Impact By cropping your photo you can focus the viewers eye on what's important in the image. In the photo of Champ and Tyson, the tight crop forces the viewers eye to focus on tug of war over the ball. Telephoto vs Wide Angle Wide angle lenses help to provide context and elongate proportions. In the first image below the wide angle lens, combined with a low shooting angle elongates Champ's front legs, makes his toy seem larger, and provides context of where he's sitting. In the second image a long lens compresses space and shortens perspective, isolating Champ in the grass. Shooting from Different Perspectives Why shoot boring photos when you can change your shooting angle and provide a unique perspective. Shoot from below, from above, or up close. Experiment! Off Camera Flash Off camera flash can significantly enhance your photo. In both instances below the flash mimics the feeling of sunshine coming through a window. The flash also provides a nice catch light for the eyes and adds drama to the shot. Capturing Action Fast or slow shutter speed, that is the question. Well each has a purpose. With a slower shutter speed and panning the camera you get a better sense of the animal's movement. Using a fast shutter speed you capture precise moment of the event. Take your pick. Special Moments Special moments can happen at any moment. The question is, will you be ready. If you don't have your camera, you can't take the shot! Thought for the Day
“Such short little lives our pets have to spend with us, and they spend most of it waiting for us to come home each day. It is amazing how much love and laughter they bring into our lives and even how much closer we become with each other because of them.” John Grogan, author of "Marley and Me" |
Eric David
Eric David is a visual artist / fine art photographer that lives and works in Toronto. Archives
March 2020
Categories
All
|


 RSS Feed
